You can enable UEBA, add the UEBA license, and select the repos and entities for UEBA analysis from the UEBA page. You can also view the health status of the system.
You need a valid UEBA license to configure Fabric-enabled LogPoint. The license contains the UEBA validity period, the number of entities you can monitor, and the Client Configuration file necessary for UEBA configuration. Contact the vendor for more details on the configuration file.
License Page
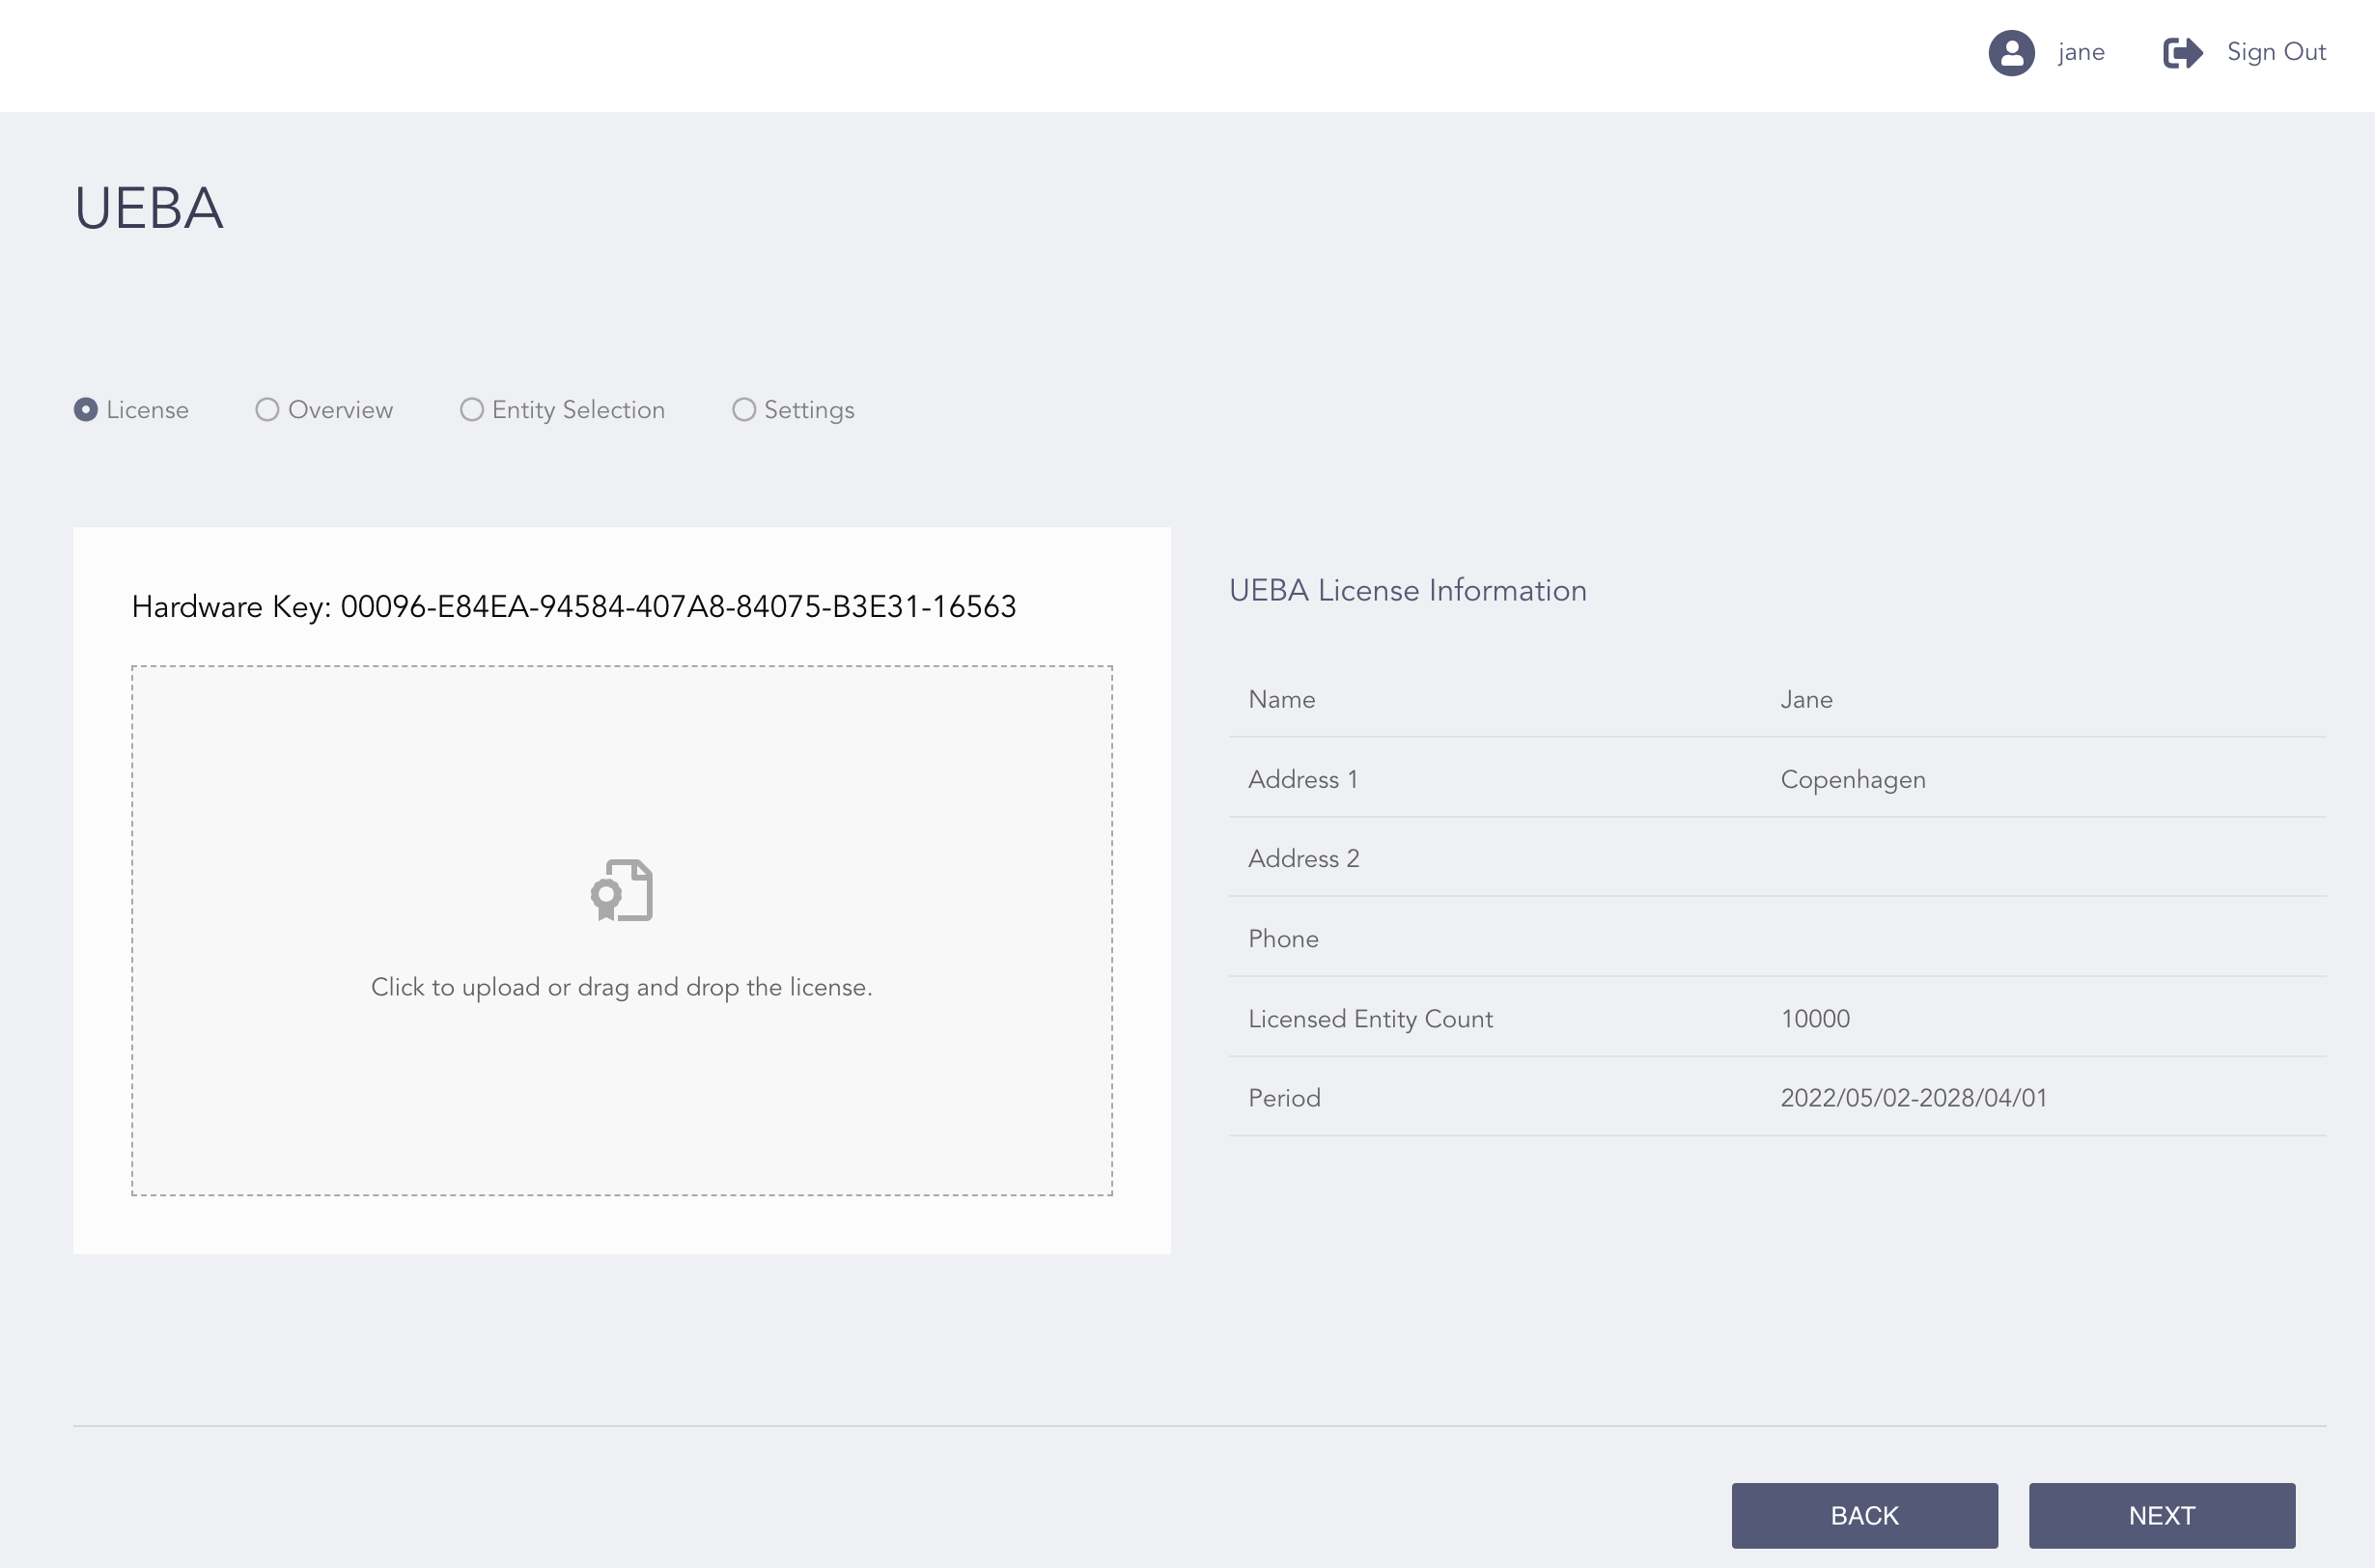
Before adding a license, contact the vendor to provide your Hardware Key. The vendor then sends you the license file based on the number of entities you want to monitor using UEBA. Once you receive a valid license file, follow the steps below to add the license:
Go to Configure >> Settings and click UEBA.
Select a machine and click Next.
Select License.
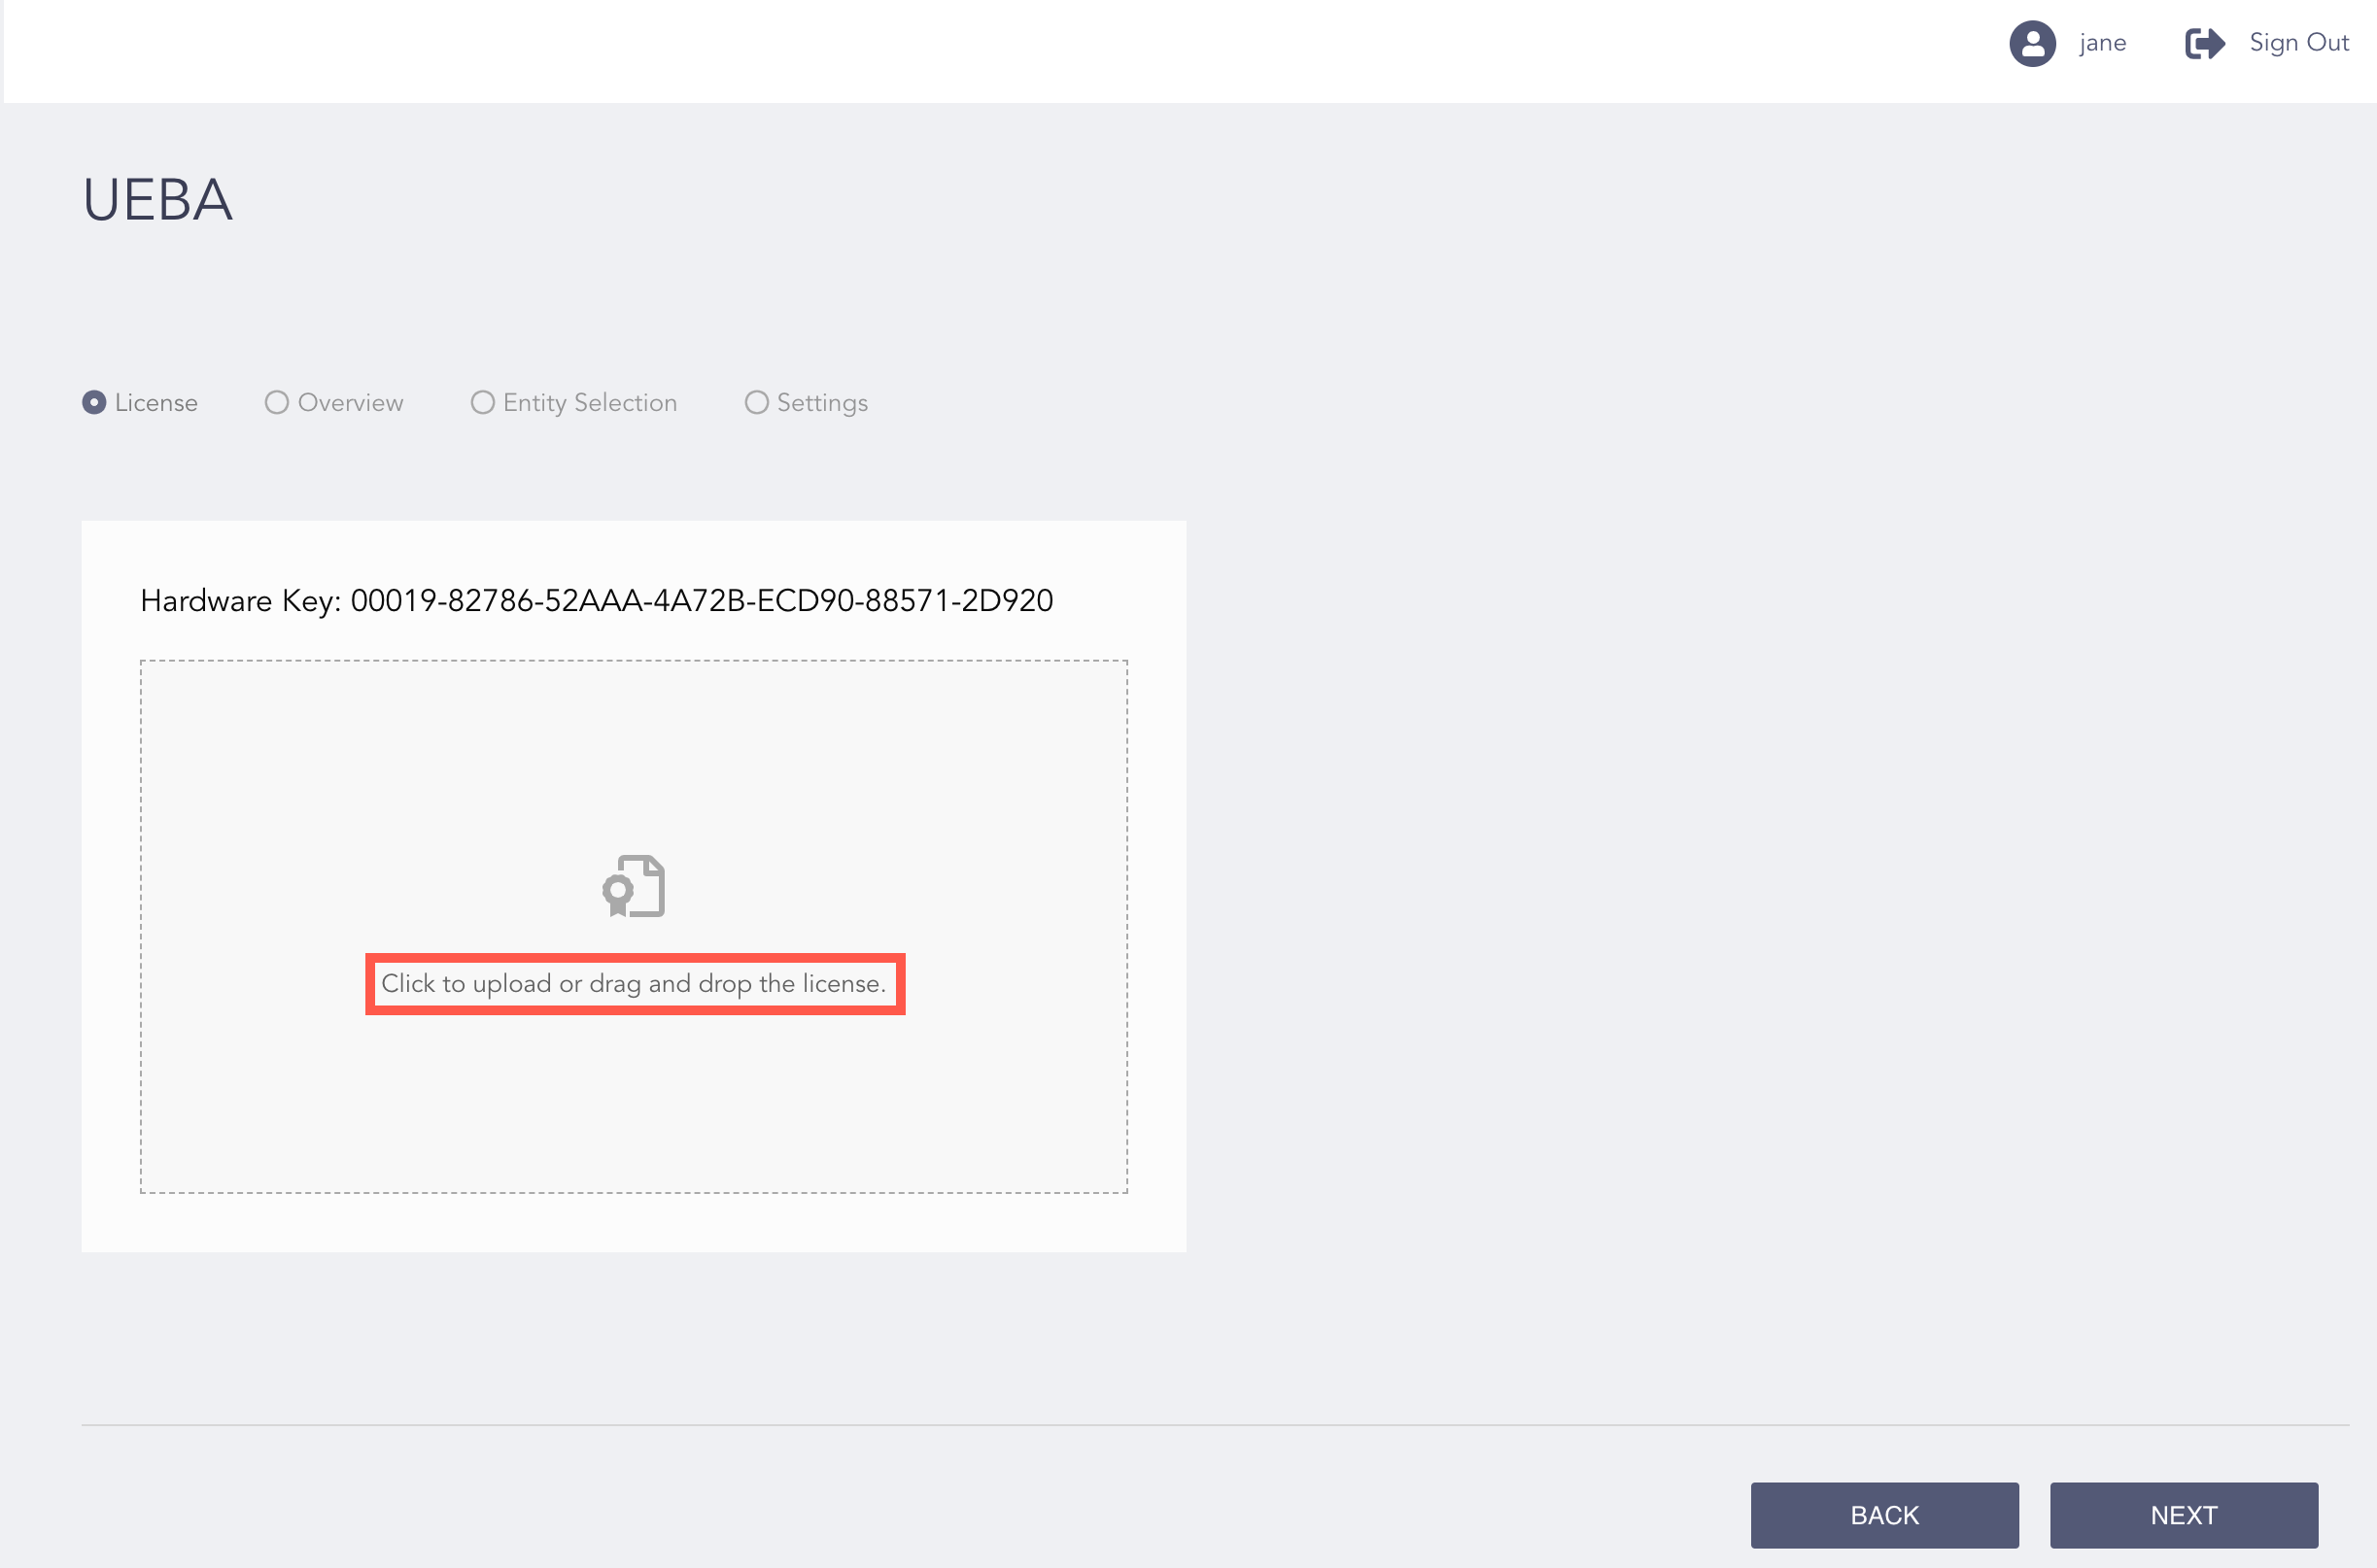
Adding a License
Click to upload or drag and drop the license.
Browse and upload the license key.
Click Next.
Review your changes. You can go Back to update the configuration if necessary.
Click Finish.
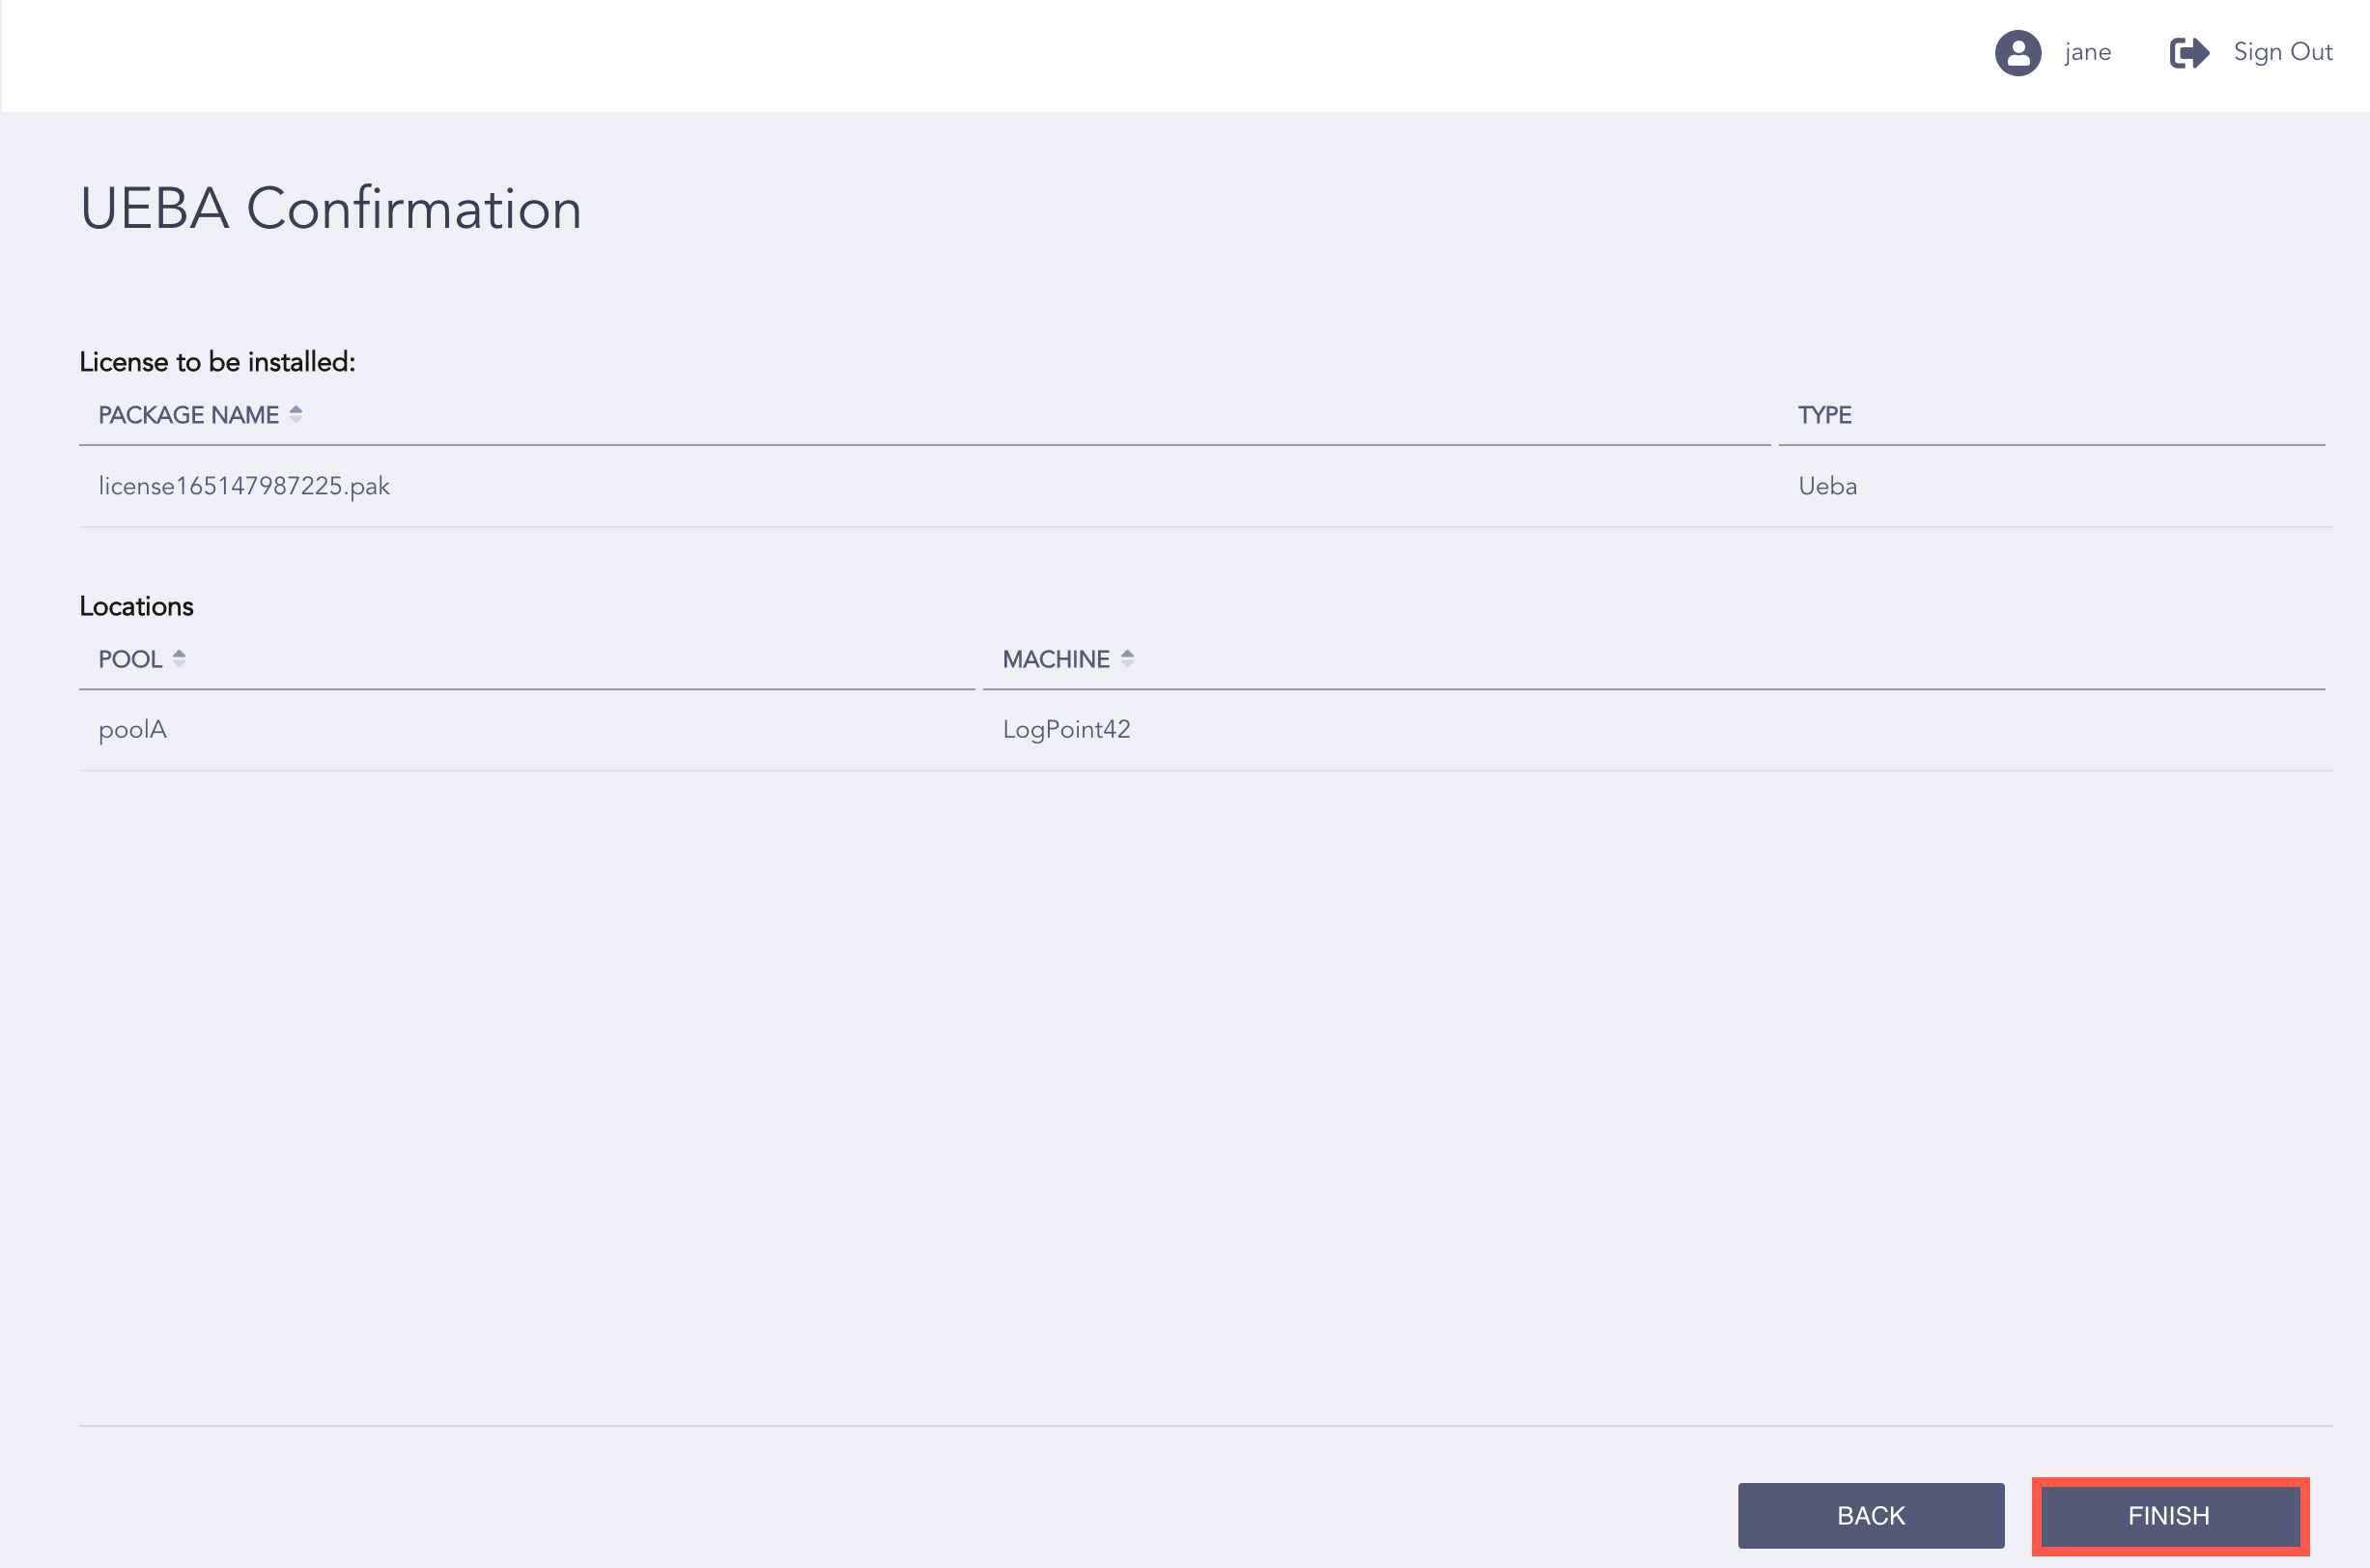
UEBA License Information
Click Ok to install the UEBA license.
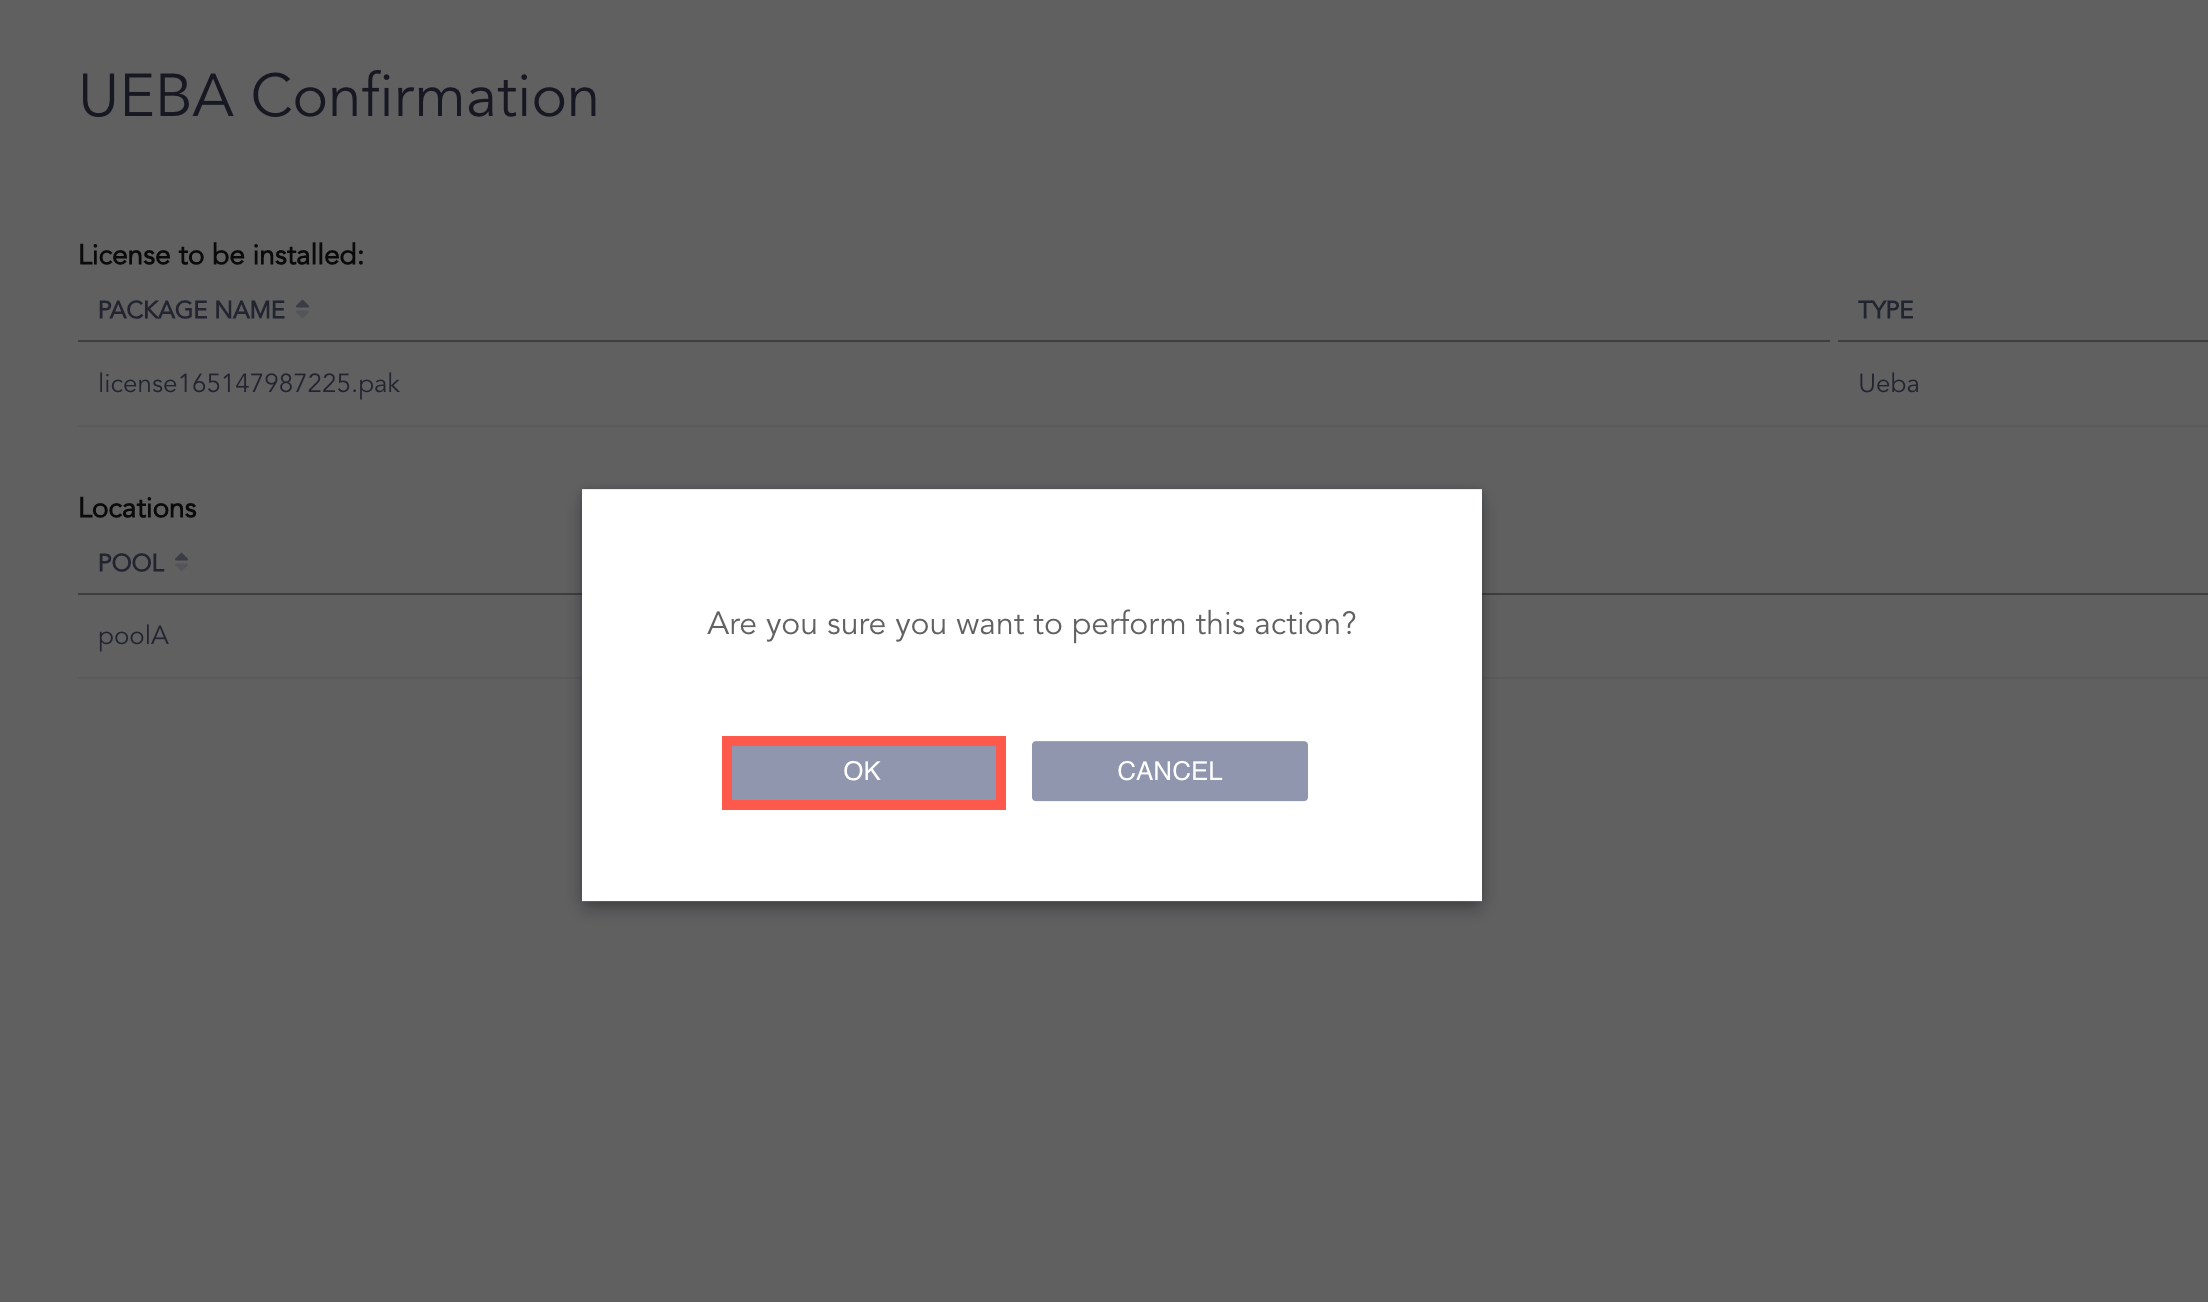
Confirming UEBA License Upload
You can enable/disable UEBA in the selected Fabric-enabled LogPoint and see the health status of the system from the Overview page. However, you must upload the License before enabling UEBA.
Go to Configure >> Settings and click UEBA.
Select Overview.
Check Enable UEBA.
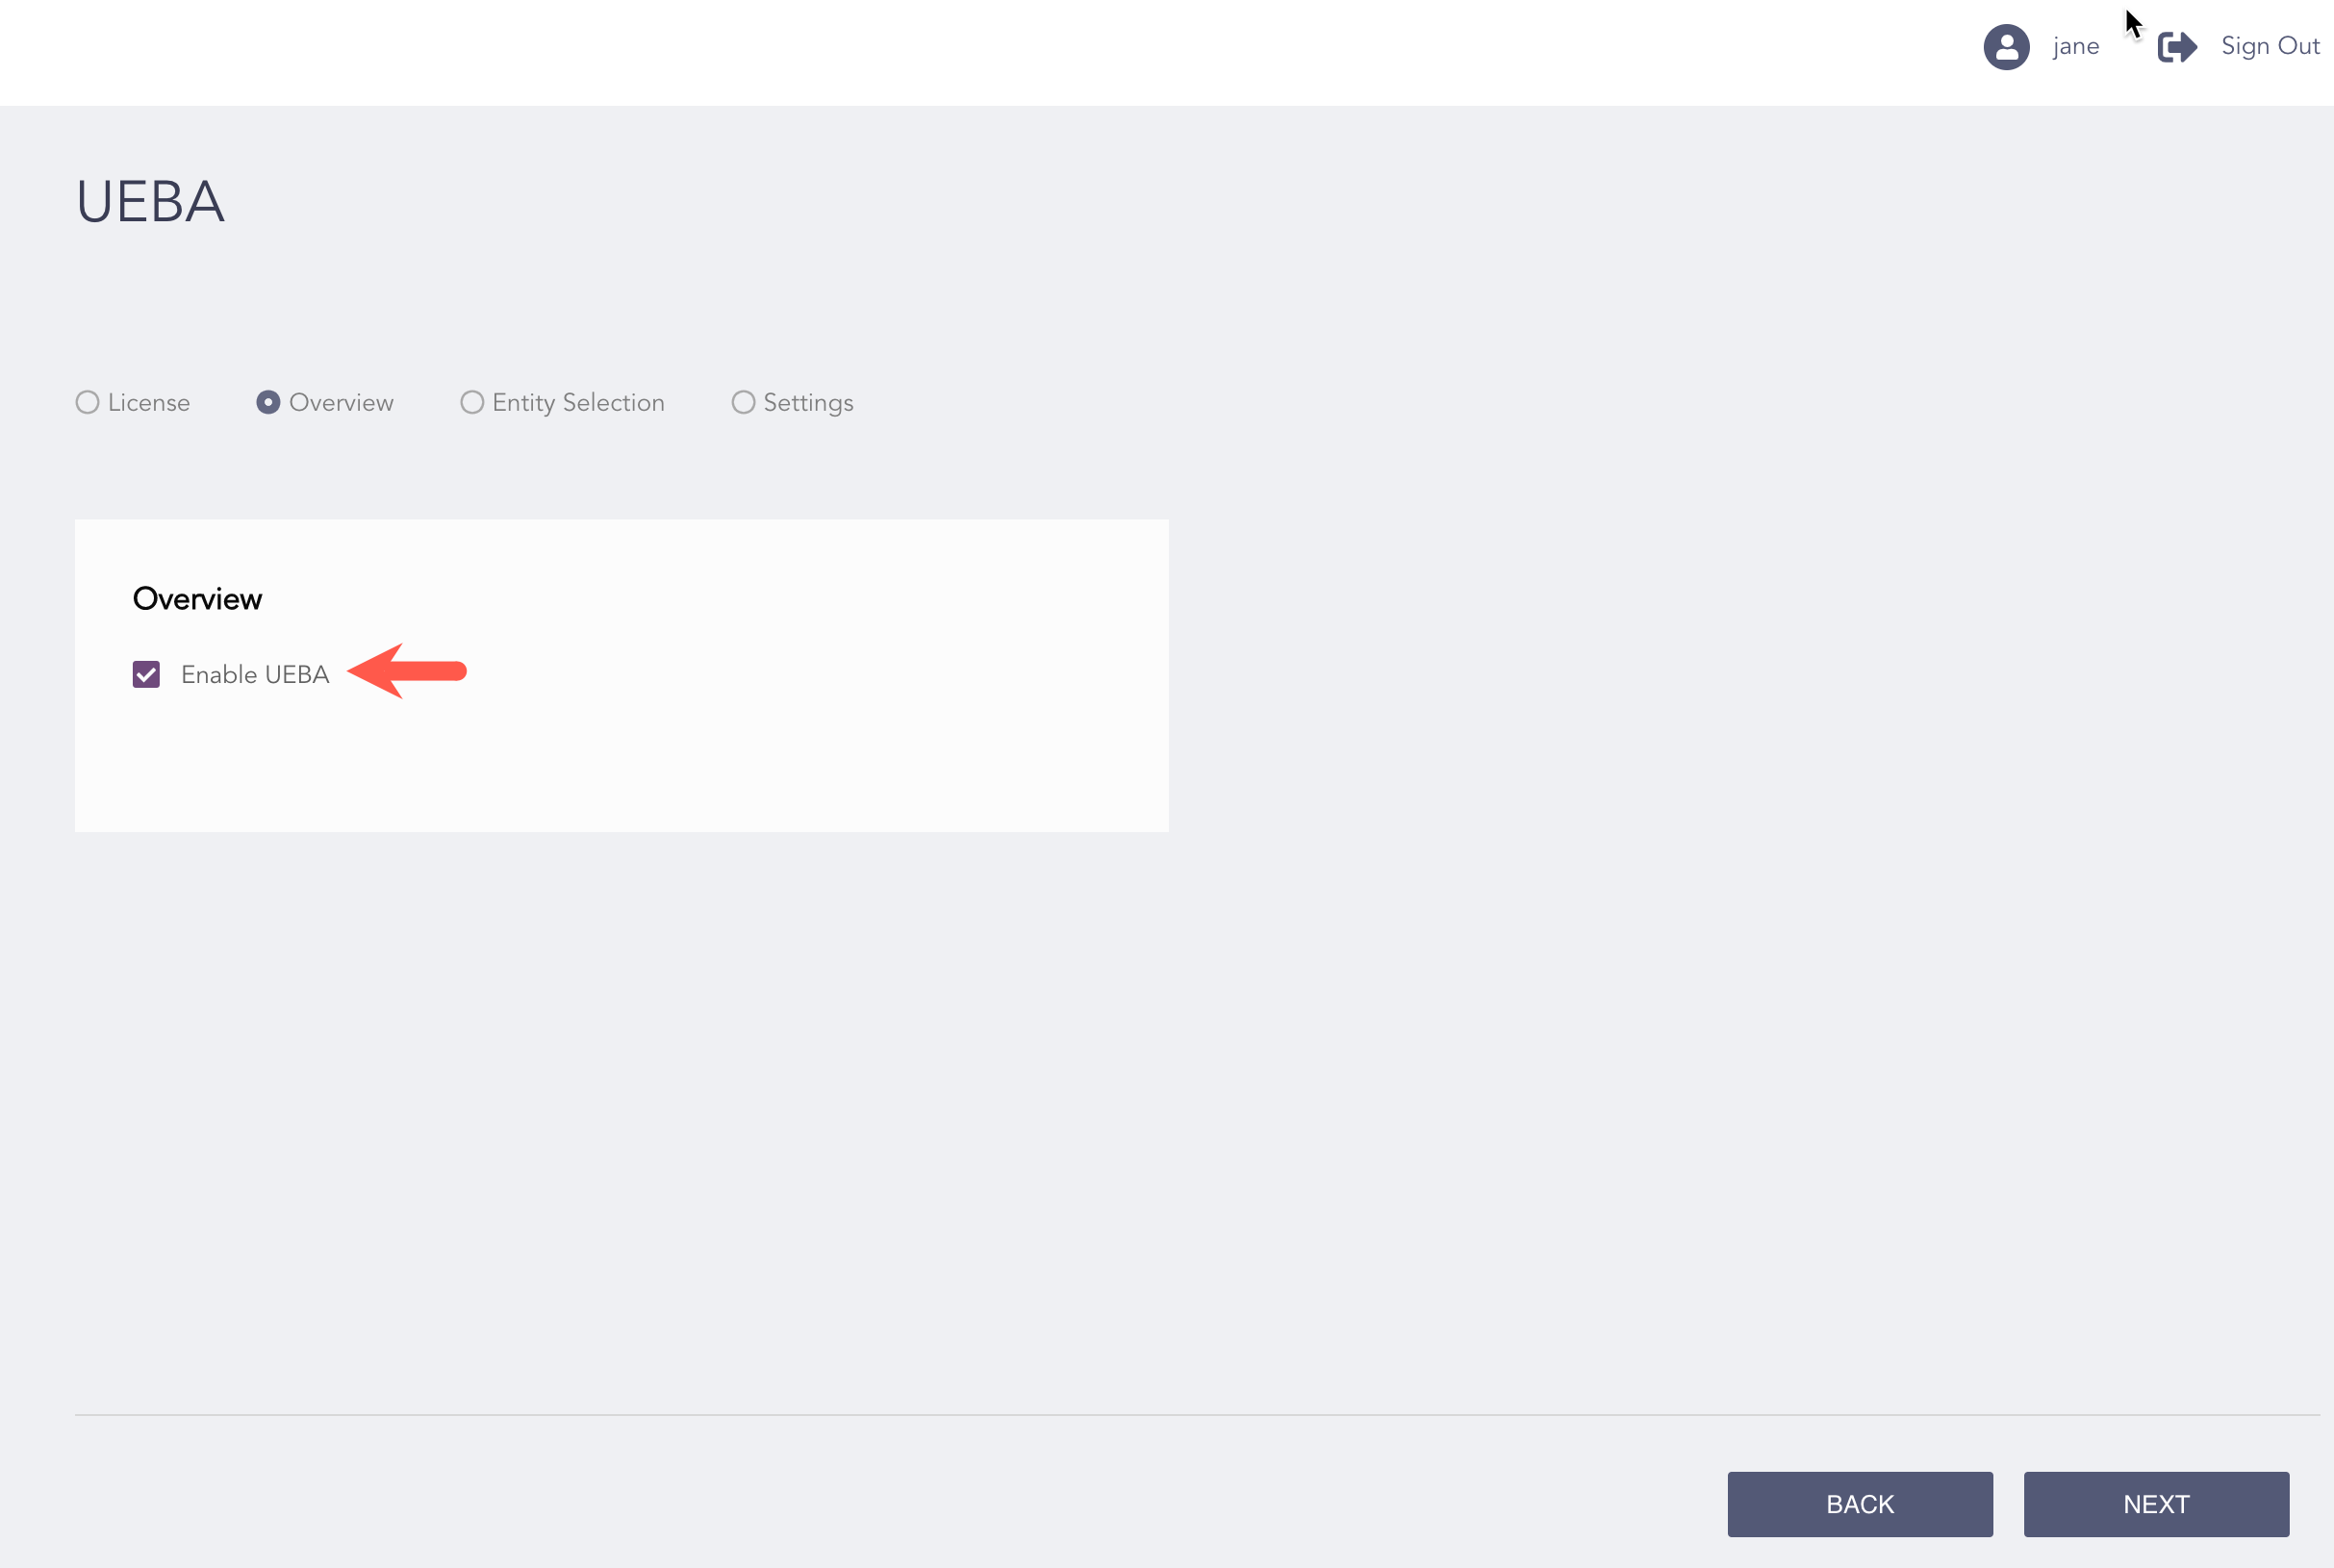
Enabling UEBA
Click Next.
Review your changes. You can go Back to update the configuration if necessary.
Click Finish.
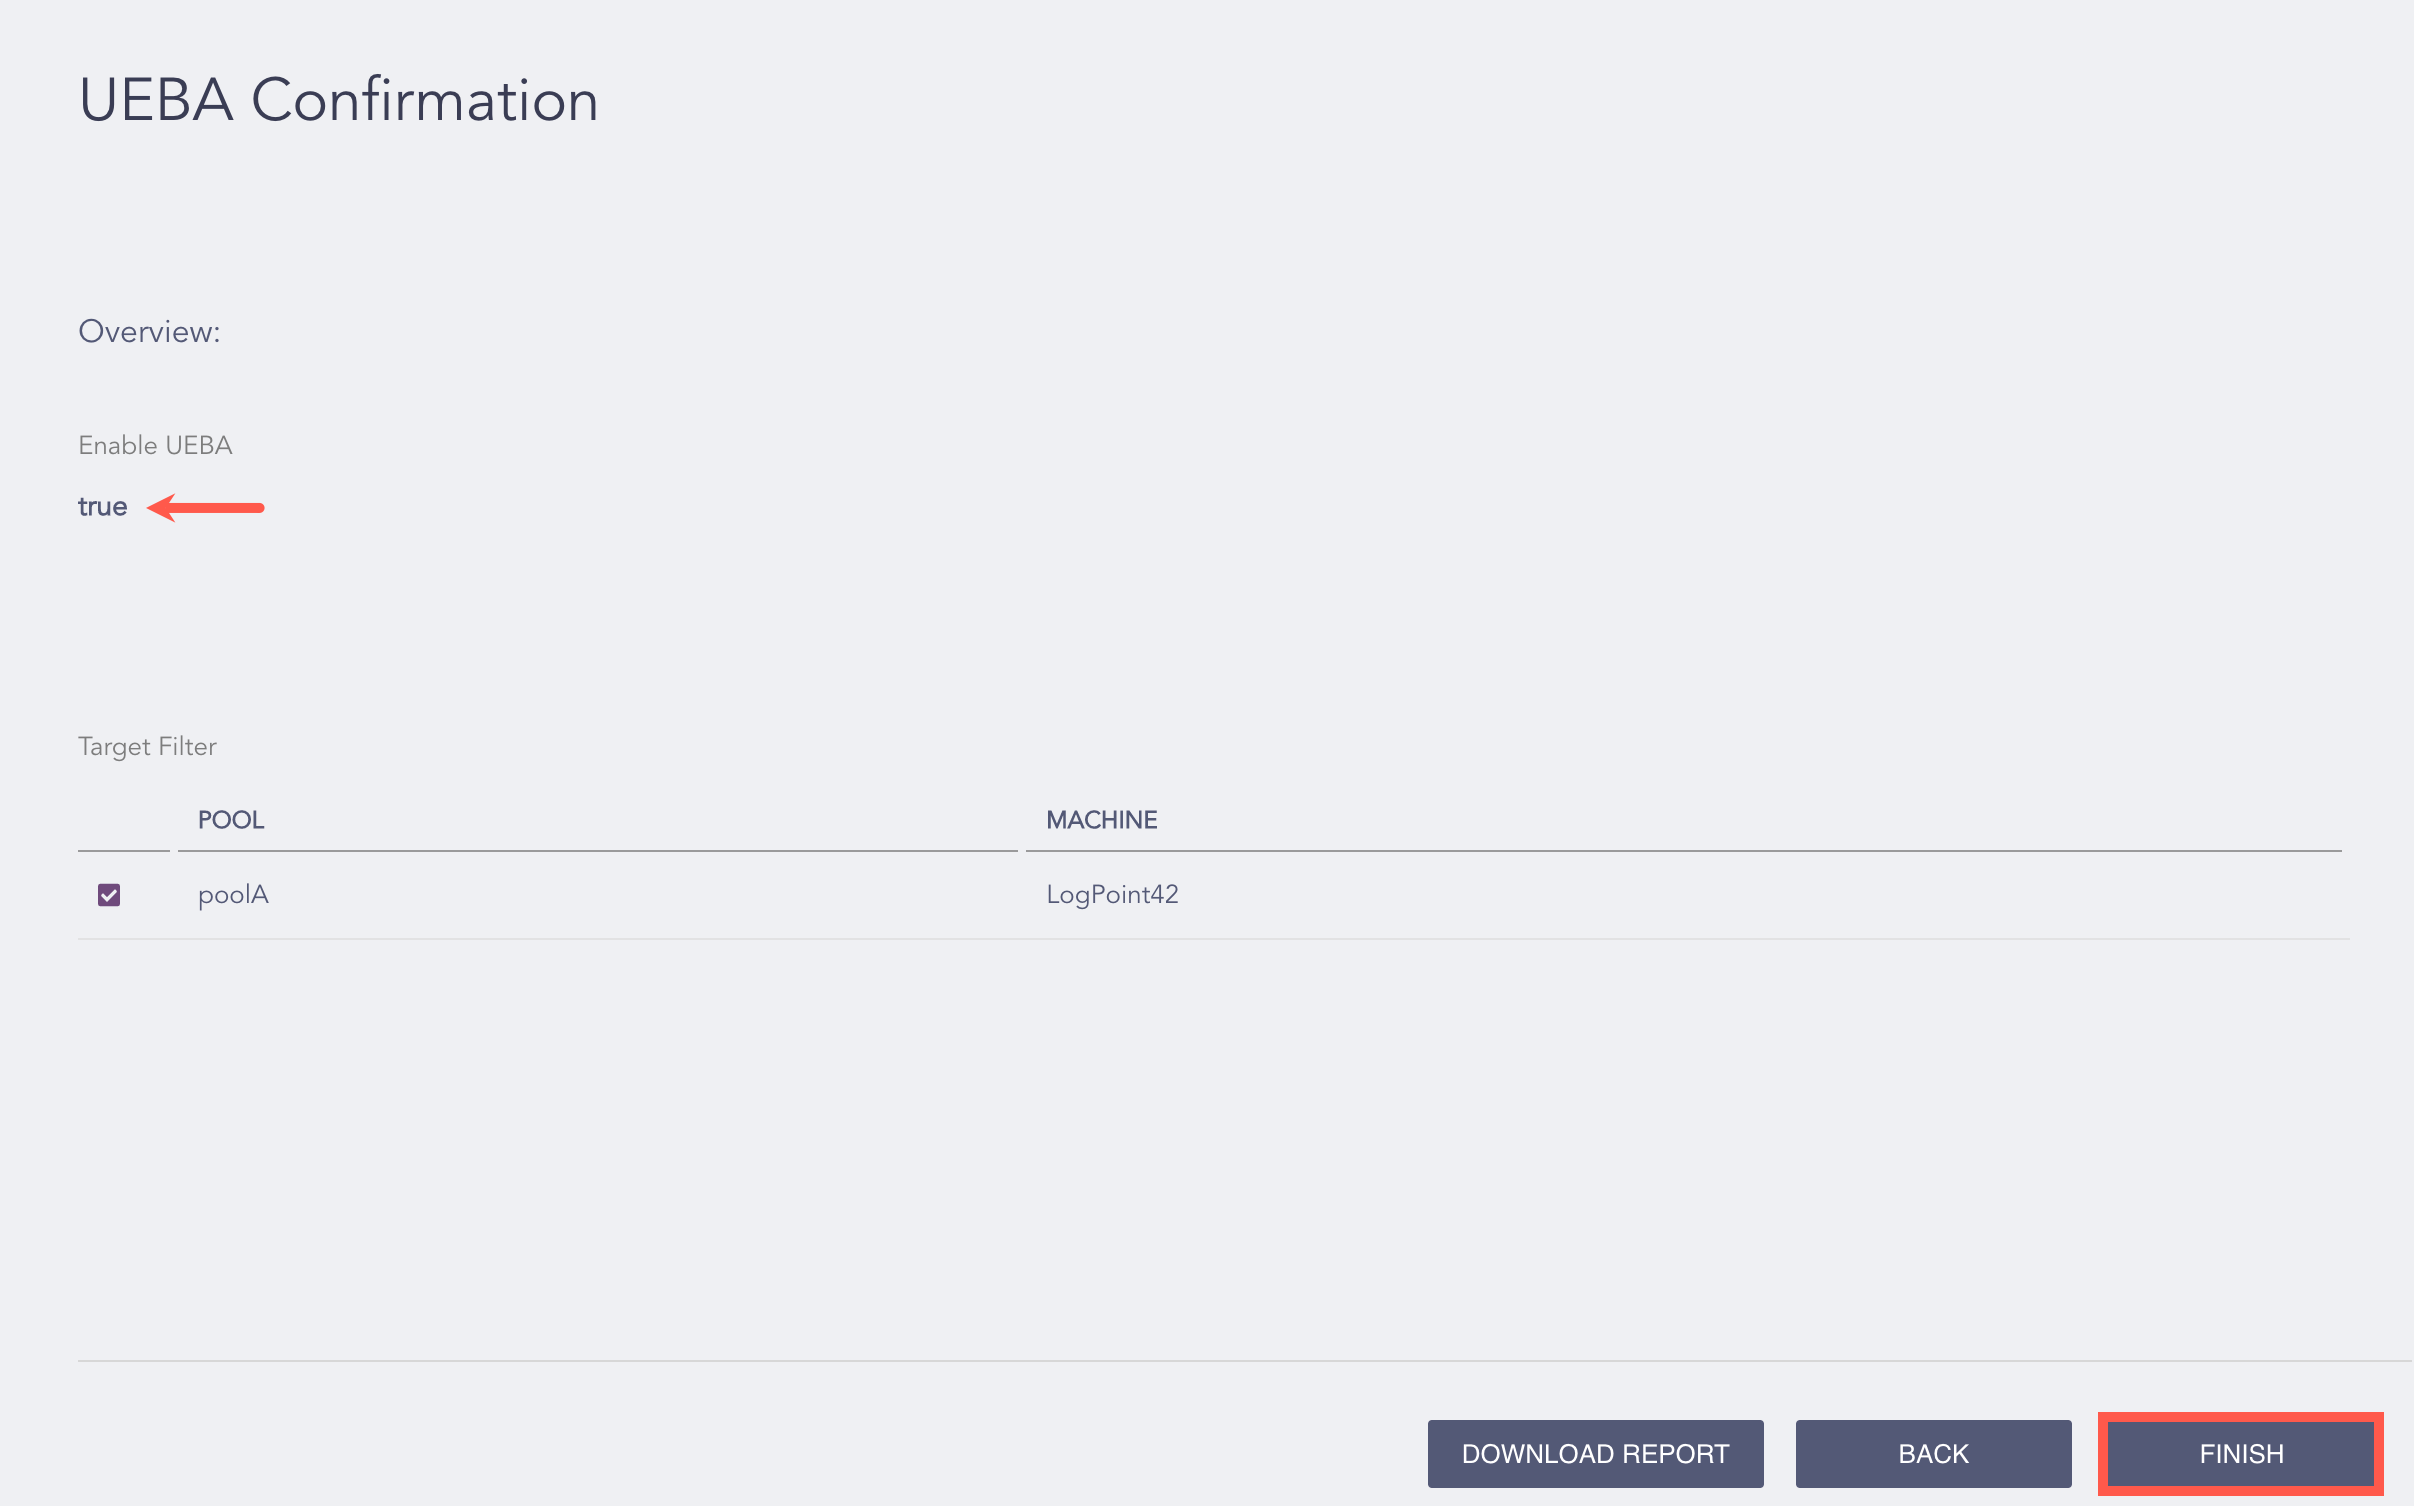
Enable UEBA Information
Click Ok to enable UEBA.
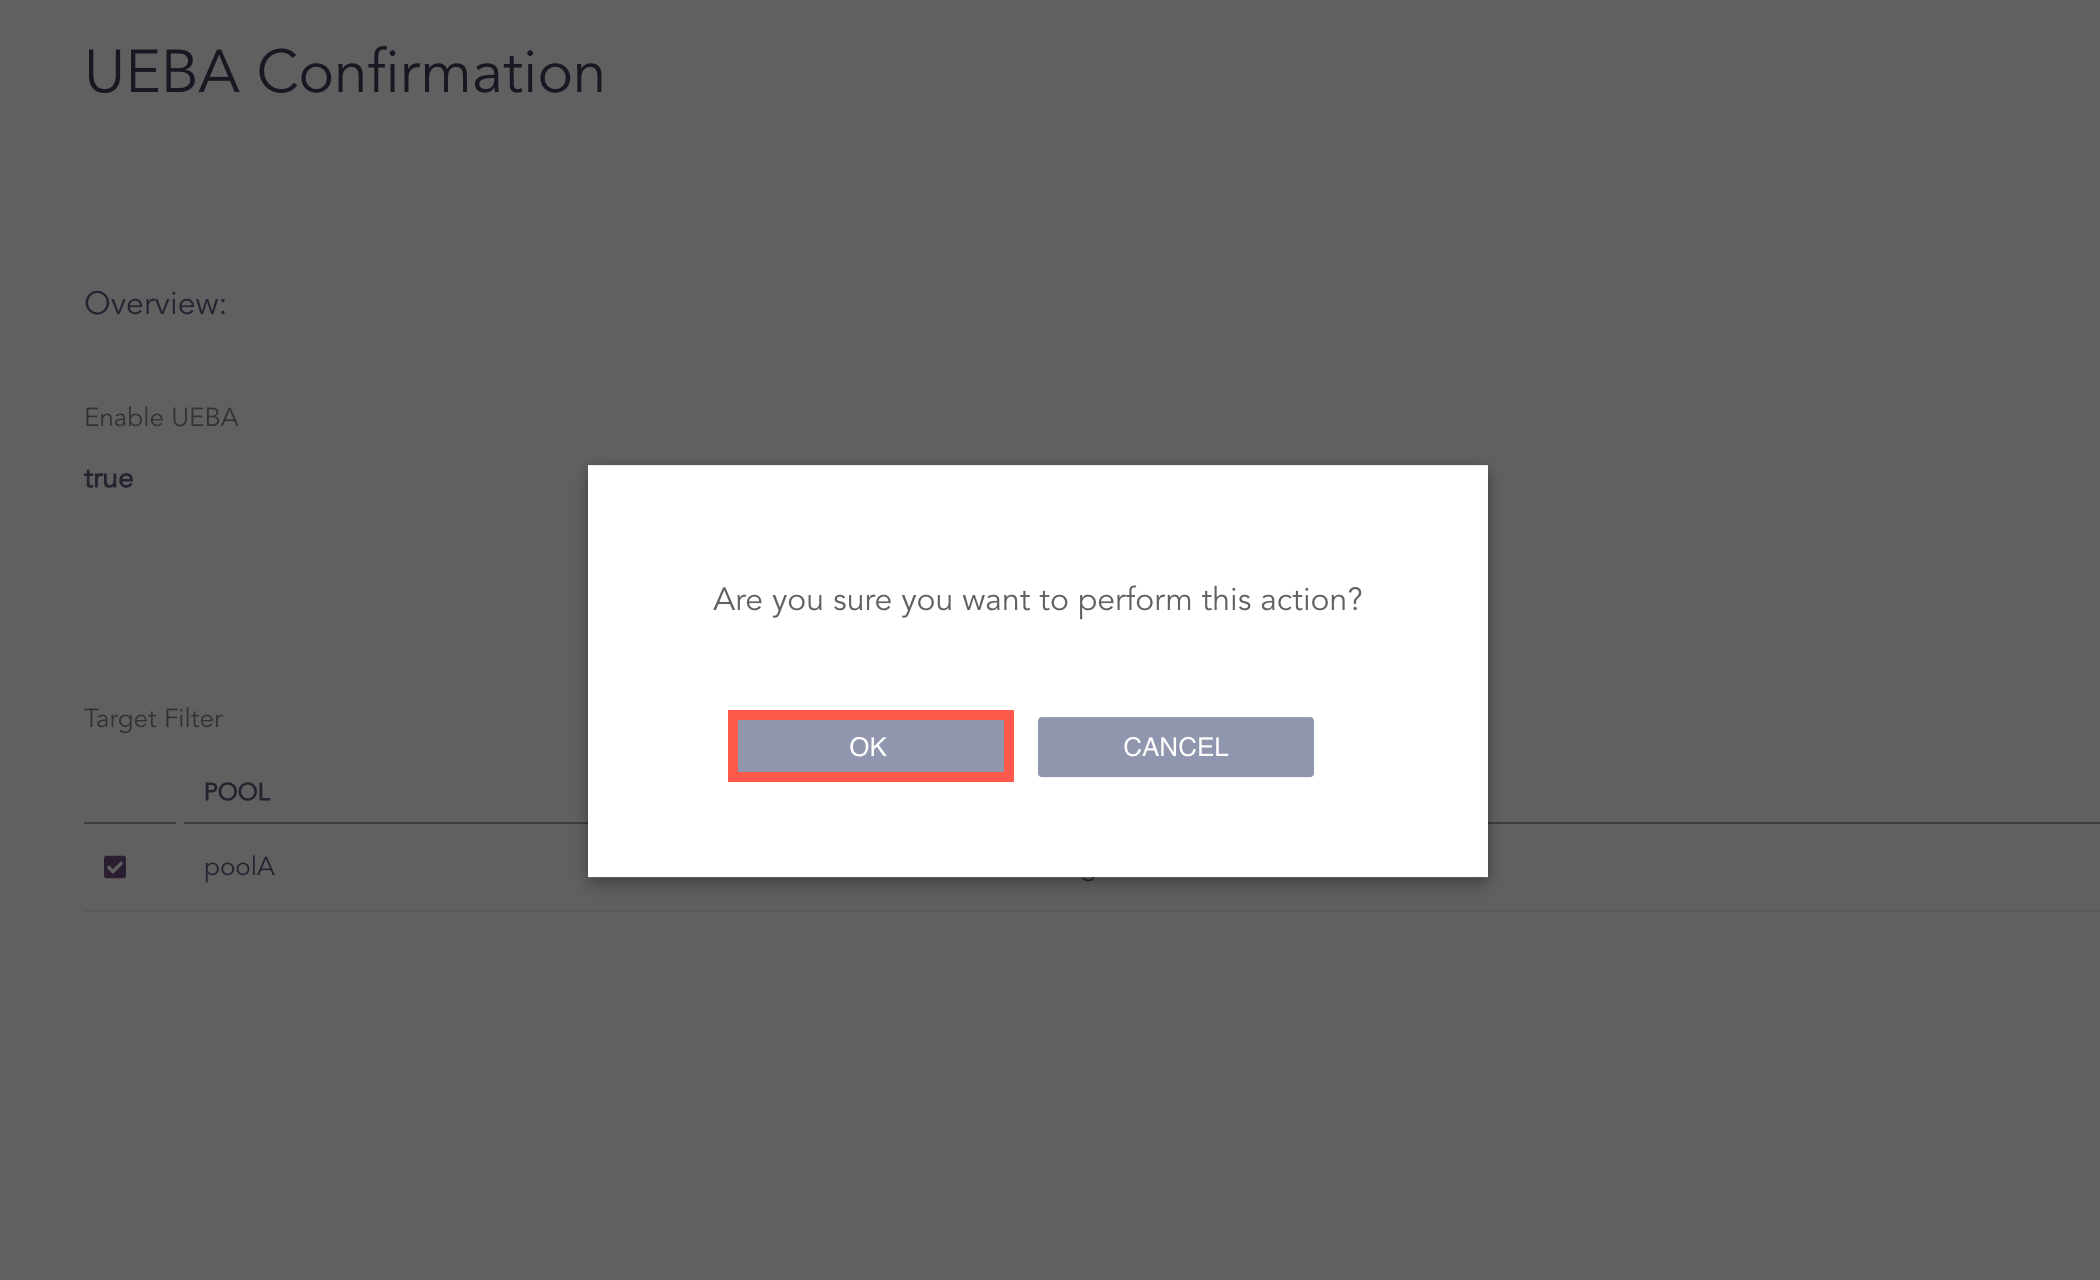
Confirming Enable UEBA
Note
You can Download Report to save the task summary in .pdf.
The Health Status section includes:
The number of days UEBA has been enabled in Director.
The number of Active Directory logs sent for UEBA analysis in the last 24 hours.
The number of web proxy logs sent for UEBA analysis in the last 24 hours.
The number of email logs sent for UEBA analysis in the last 24 hours.
The number of VPN logs sent for UEBA analysis in the last 24 hours.
The number of authentication logs sent for UEBA analysis in the last 24 hours.
The number of resource access logs sent for UEBA analysis in the last 24 hours.
The number of sap authentication logs sent for UEBA analysis in the last 24 hours.
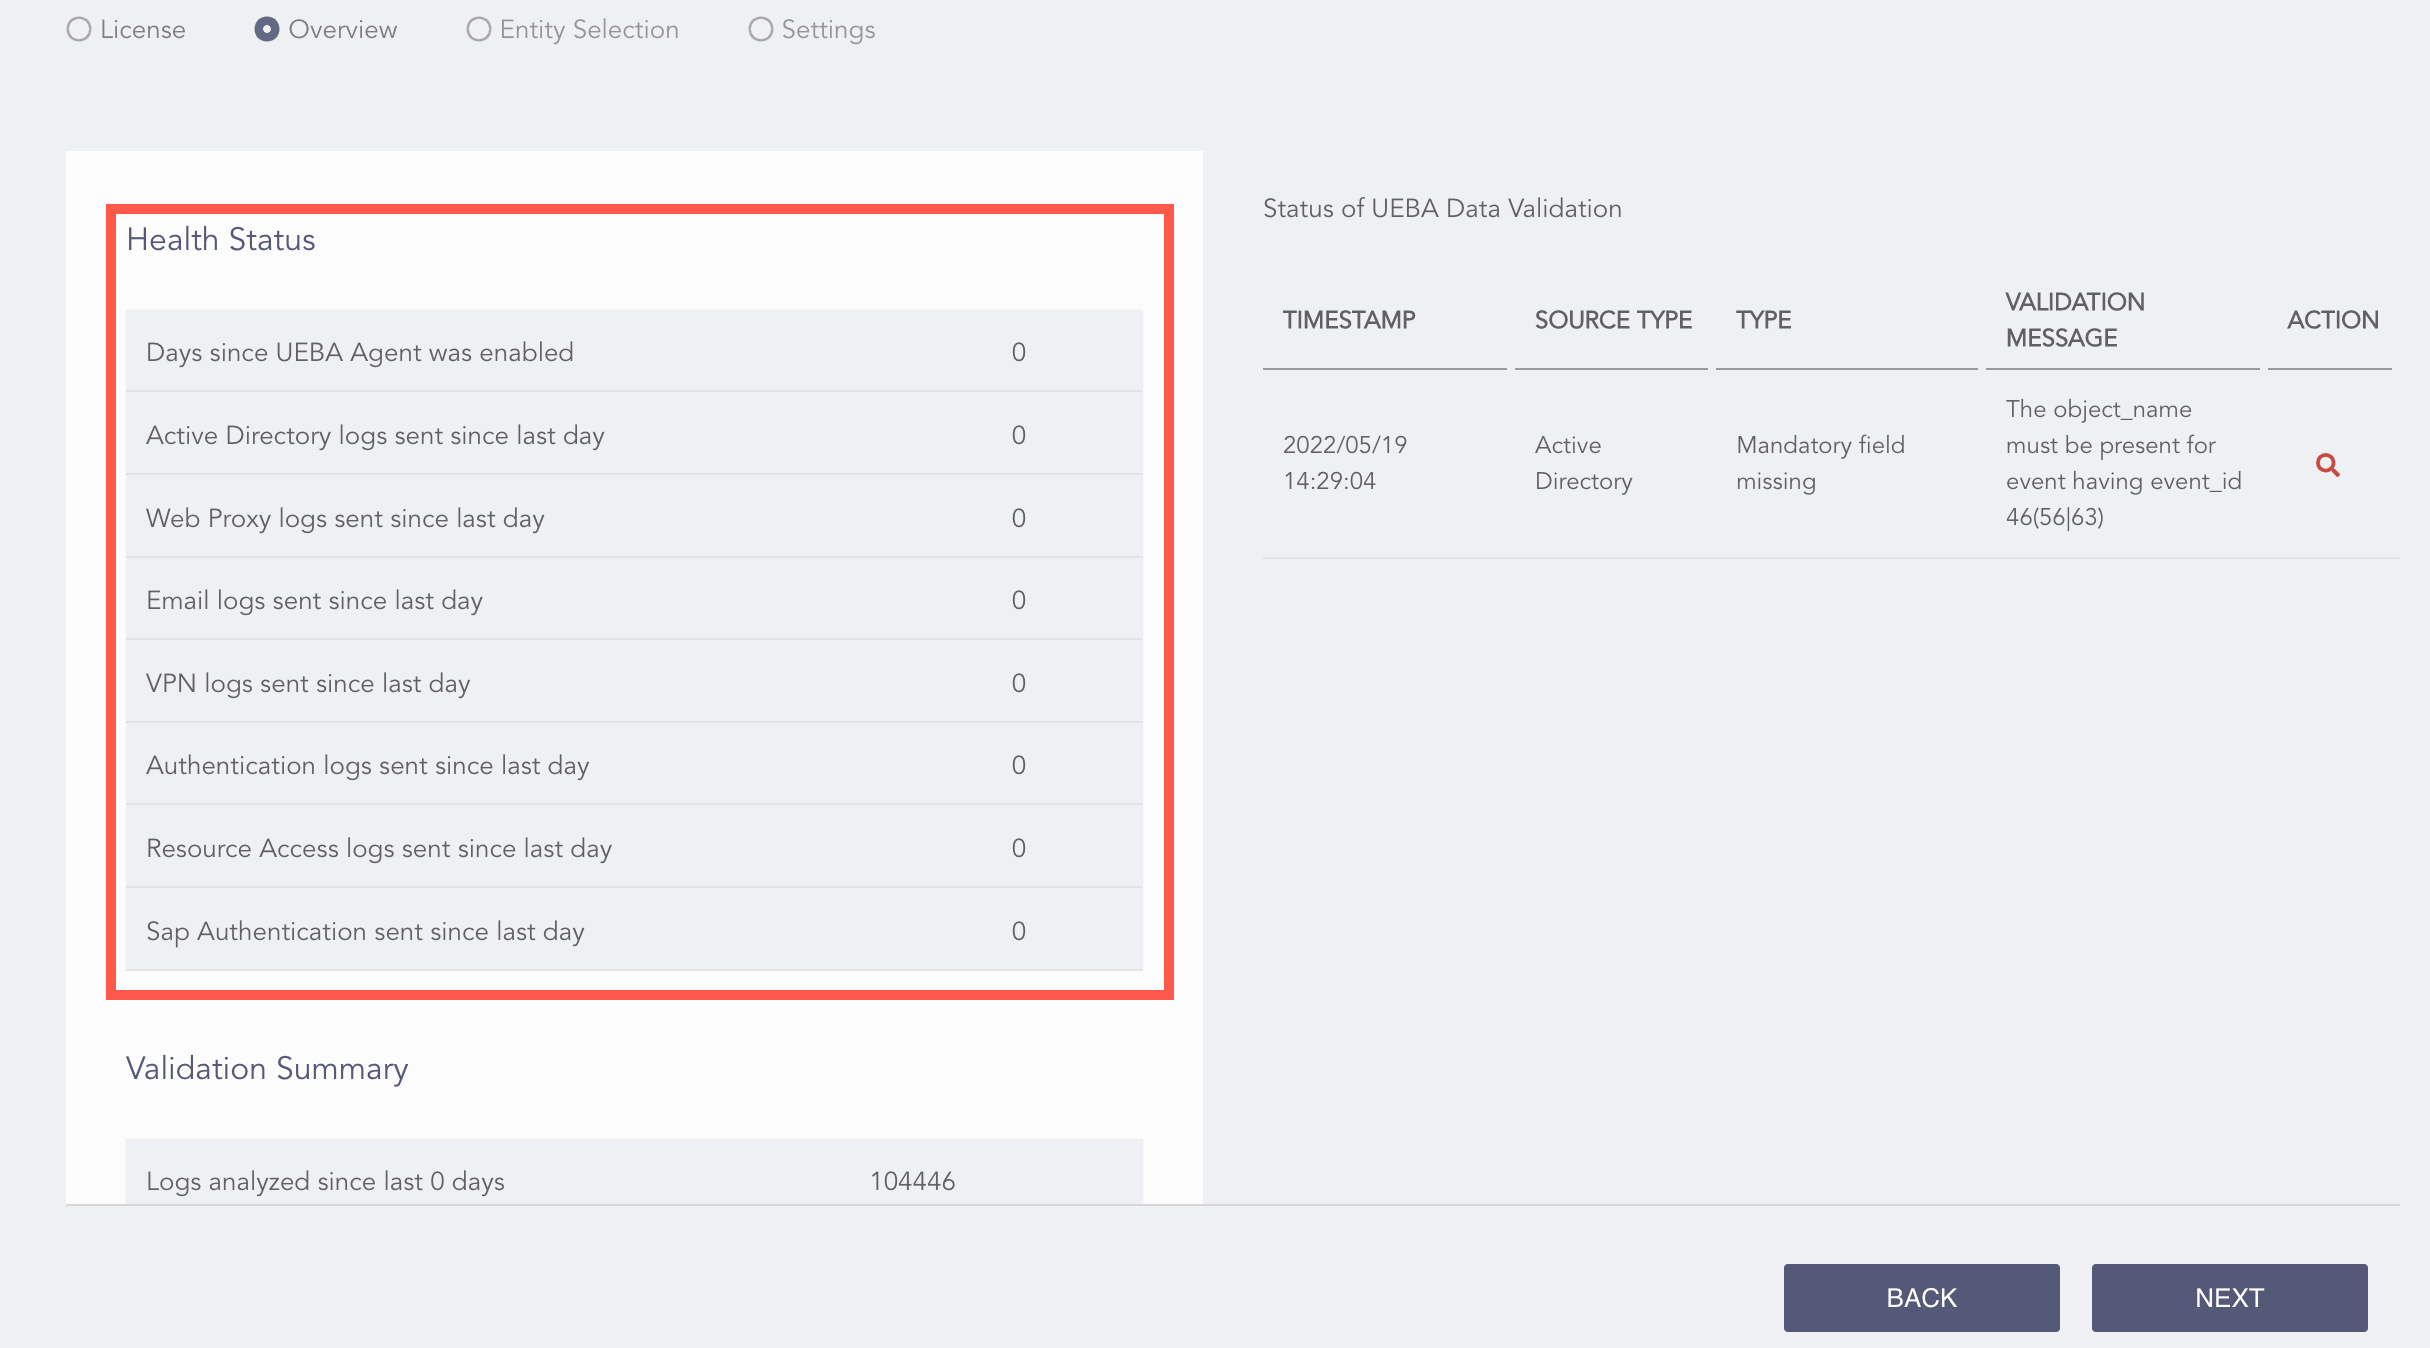
Health Status
The Validation Summary section contains:
The total number of historical and real-time logs analyzed for data validation in the last two days.
The total number of invalid logs detected in the last two days while running the validation.
The total number of invalid logs found according to the different data sources.
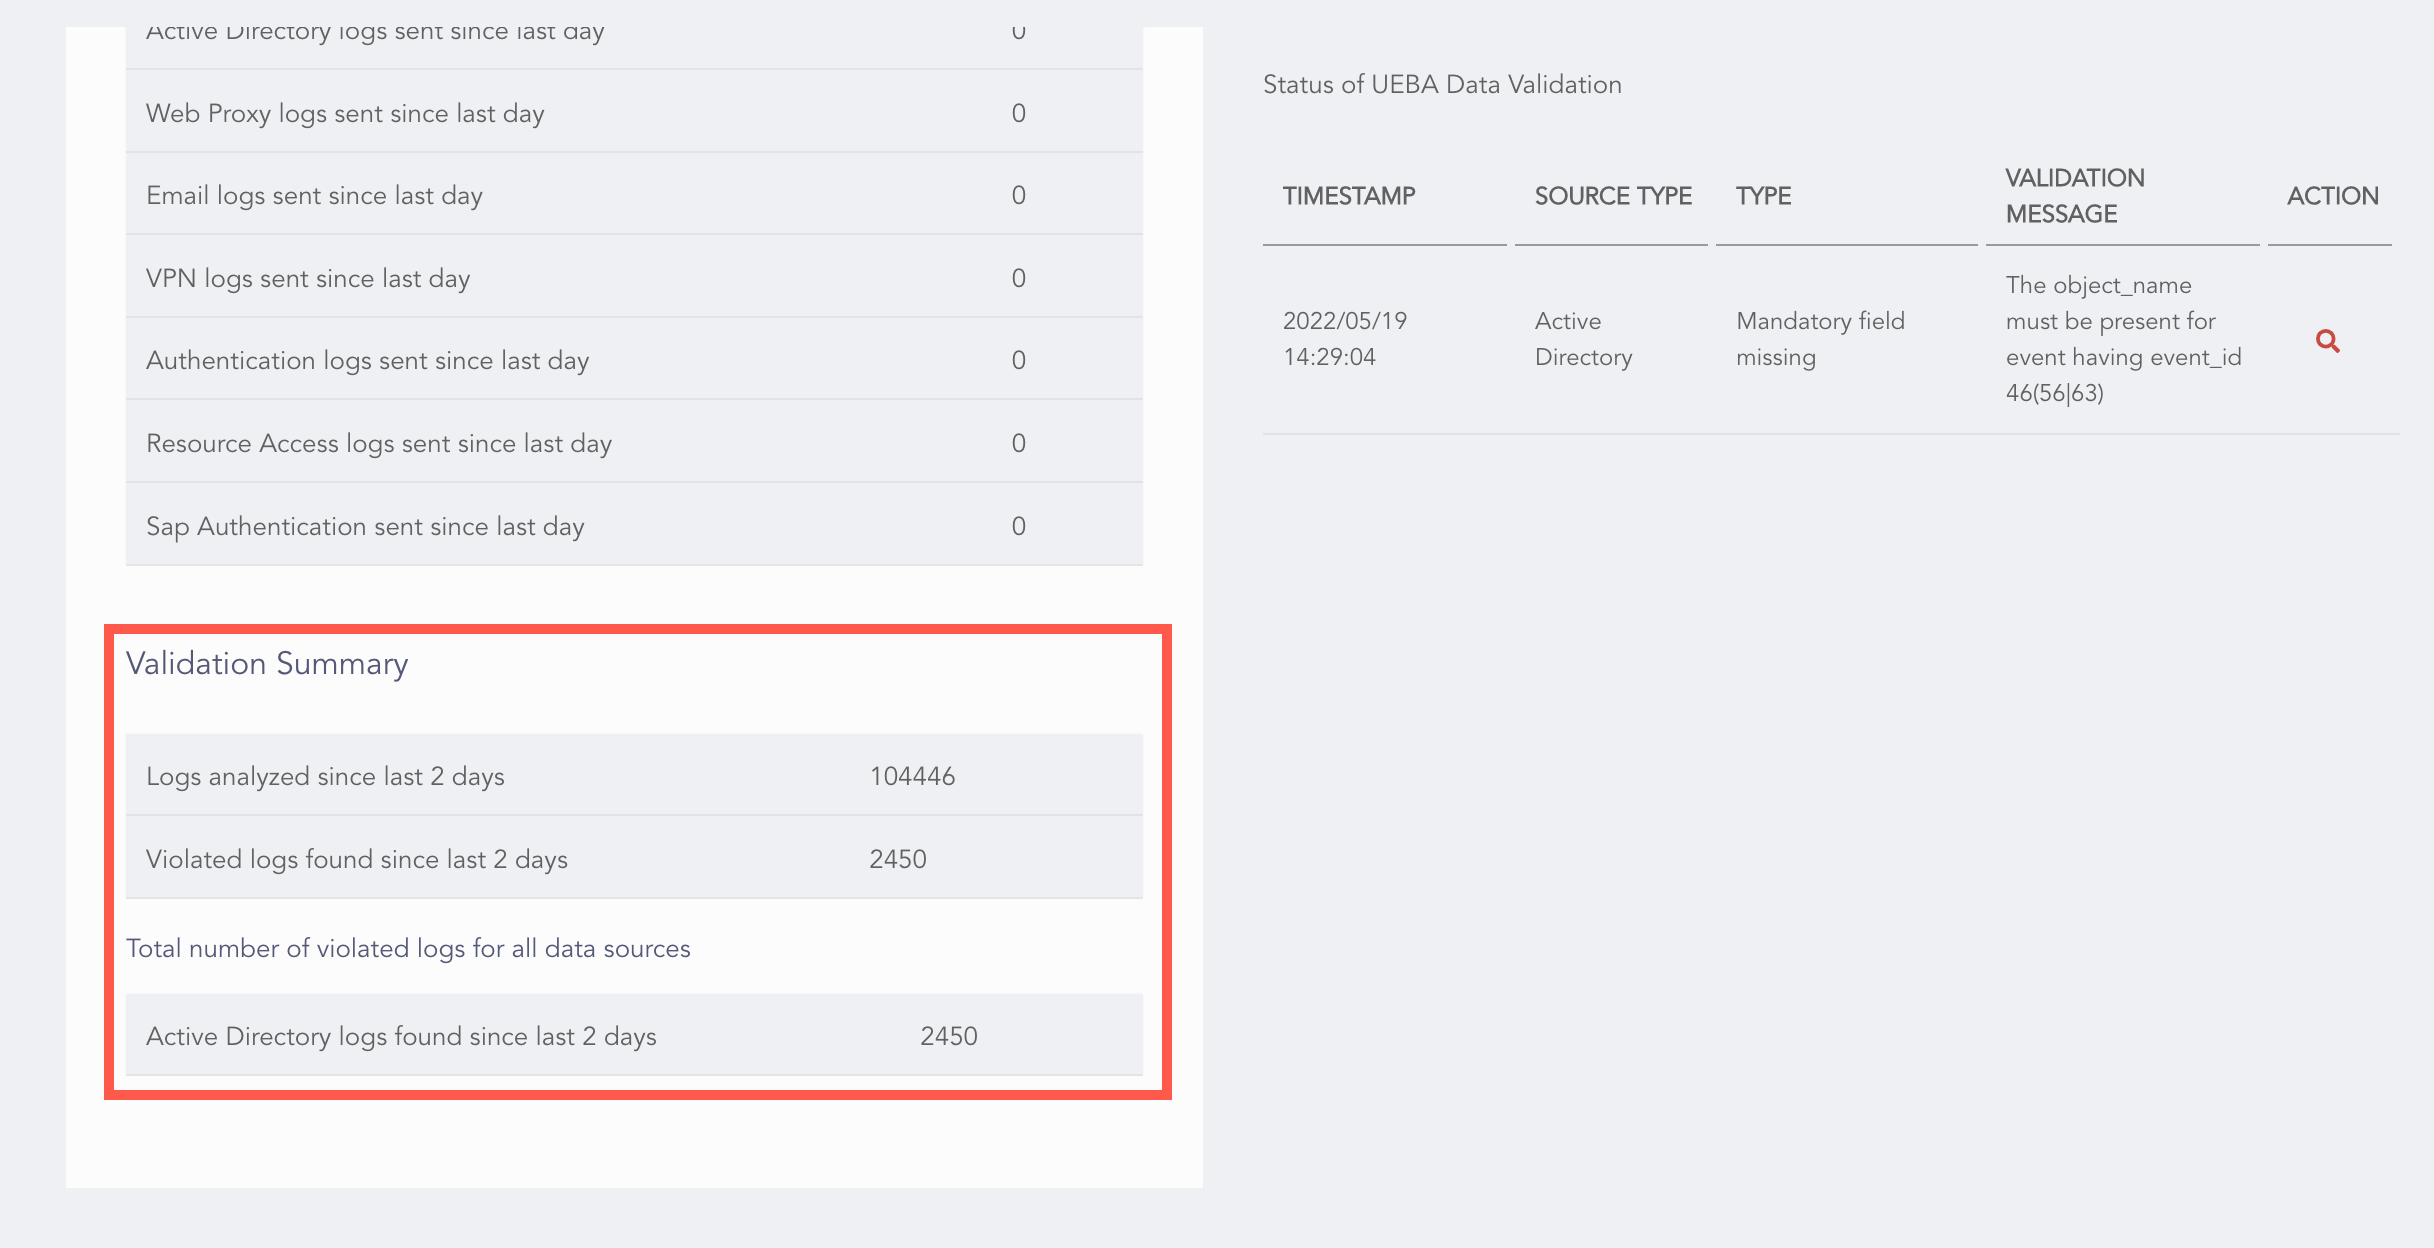
UEBA Validation Summary
Important
You can access the Entity Selection page only after uploading the license and enabling UEBA.
You can add, edit, and delete the entities for UEBA to monitor on the Entity Selection page. It shows:
The total number of licensed entities.
The total number of entities set for threat analysis.
The specifics of the configured entities.
The total number of users and machines chosen.
Go to Configure >> Settings and click UEBA.
Select Entity Selection.

Selecting Entity
In Add Entity:
Enter the Group Name.
Select a Group Type, either User or Machine. If you select Machine, choose whether the source contains the CIDR, the Hostname, or the IP address of the machine.
In Enrichment Source, enter the source name to search the enrichment source.
In the Enrichment Source section, select a specific enrichment source from the given list. It can be LDAP, CSV, or ODBC.
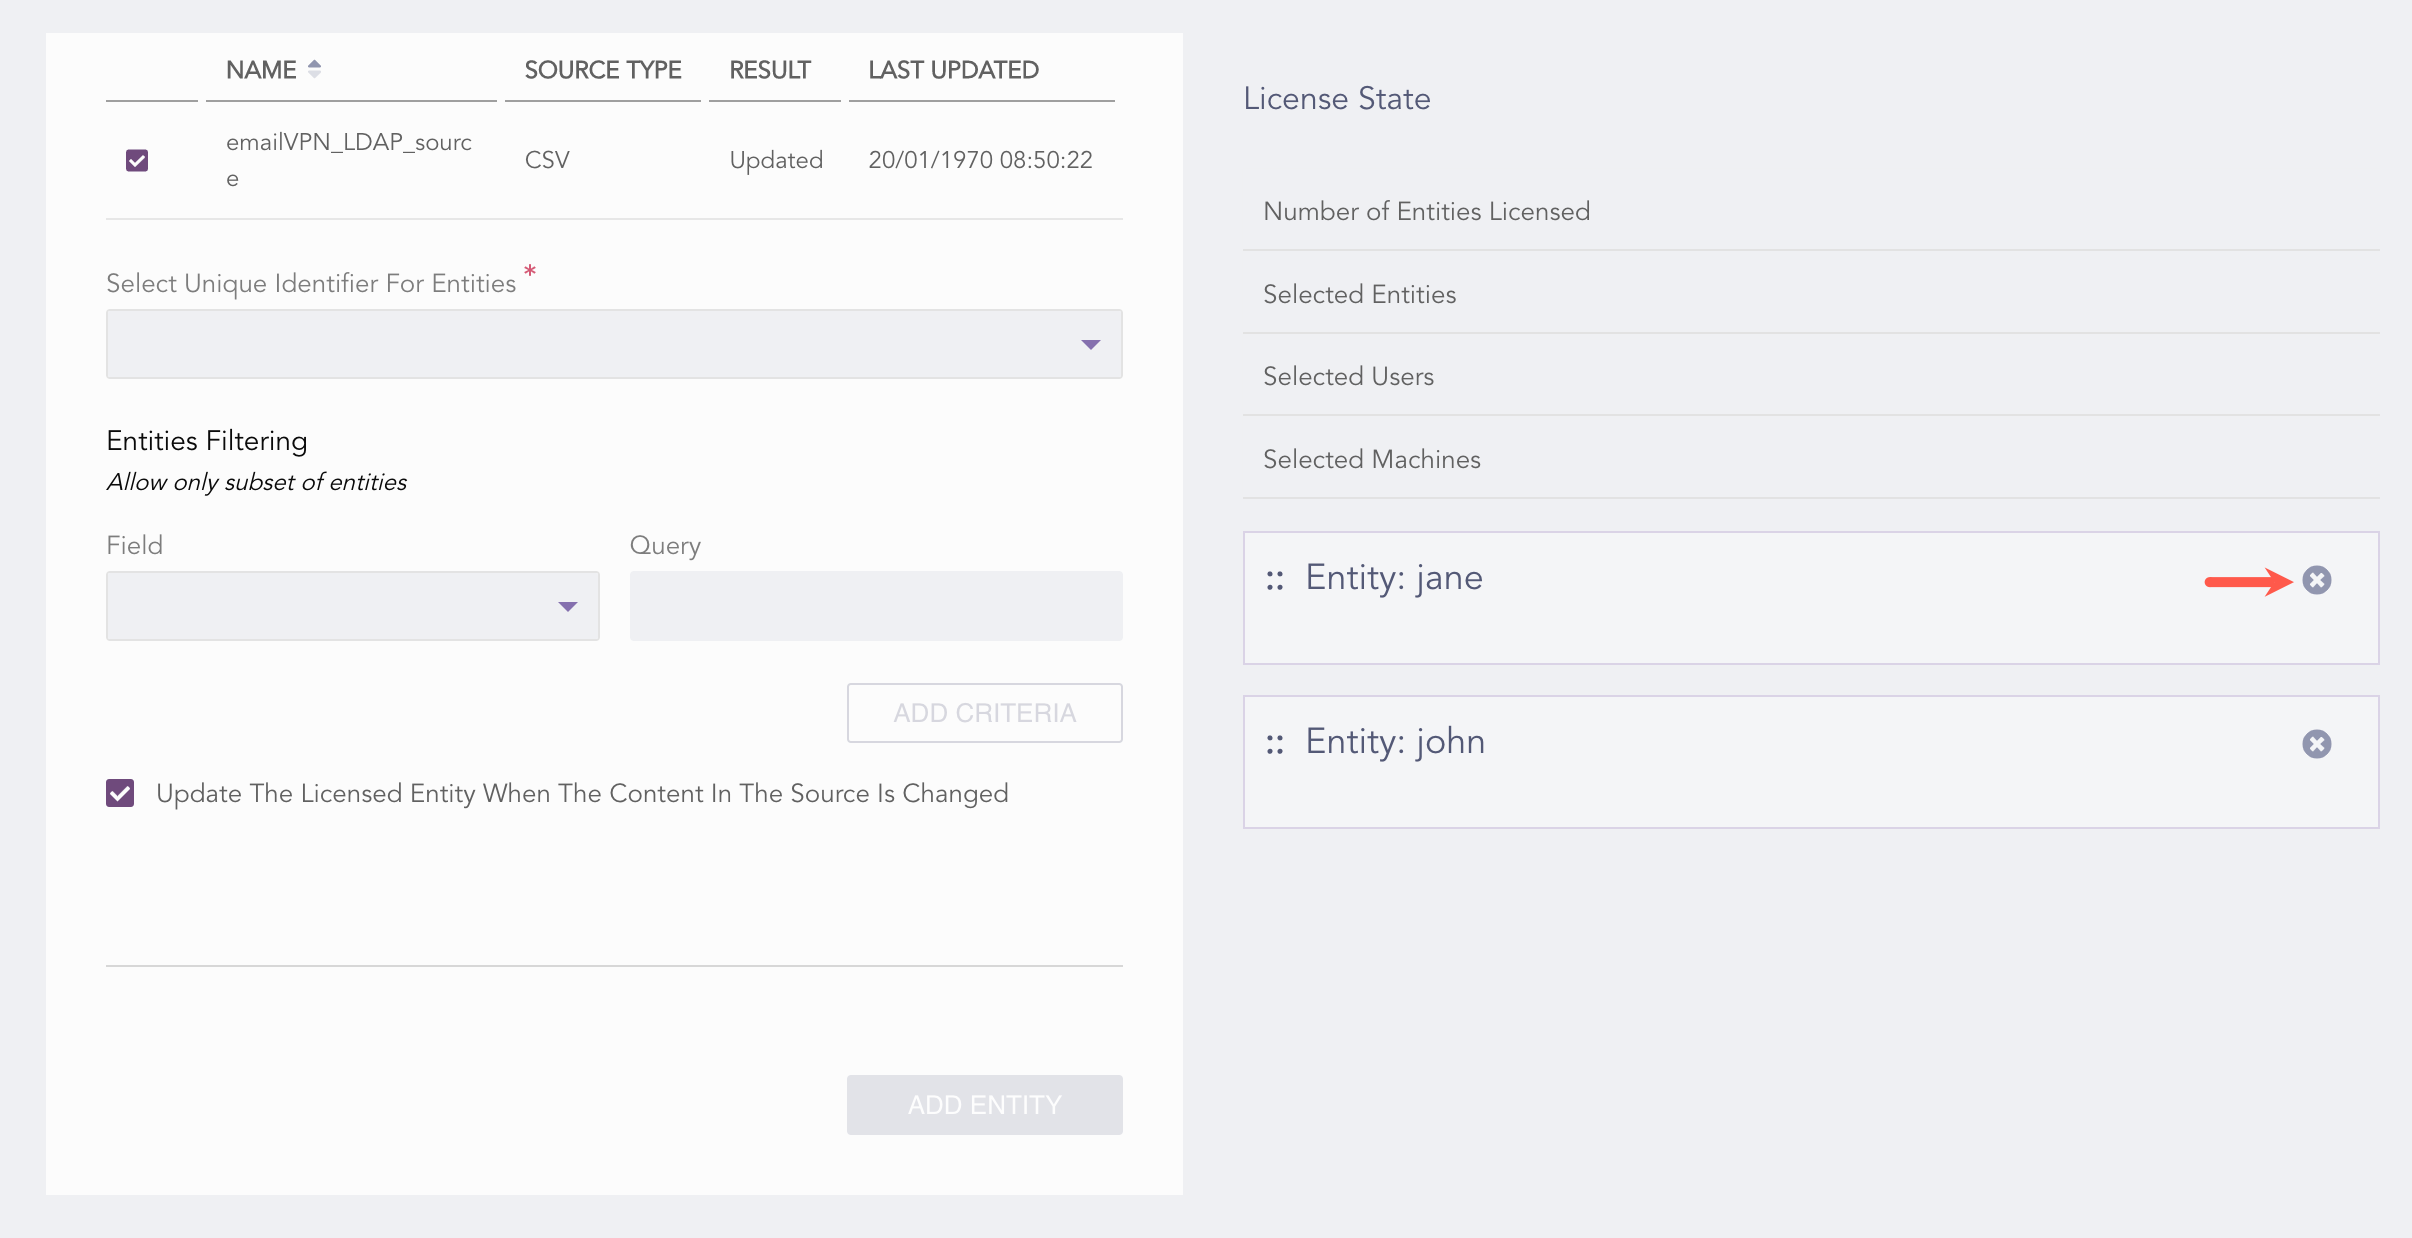
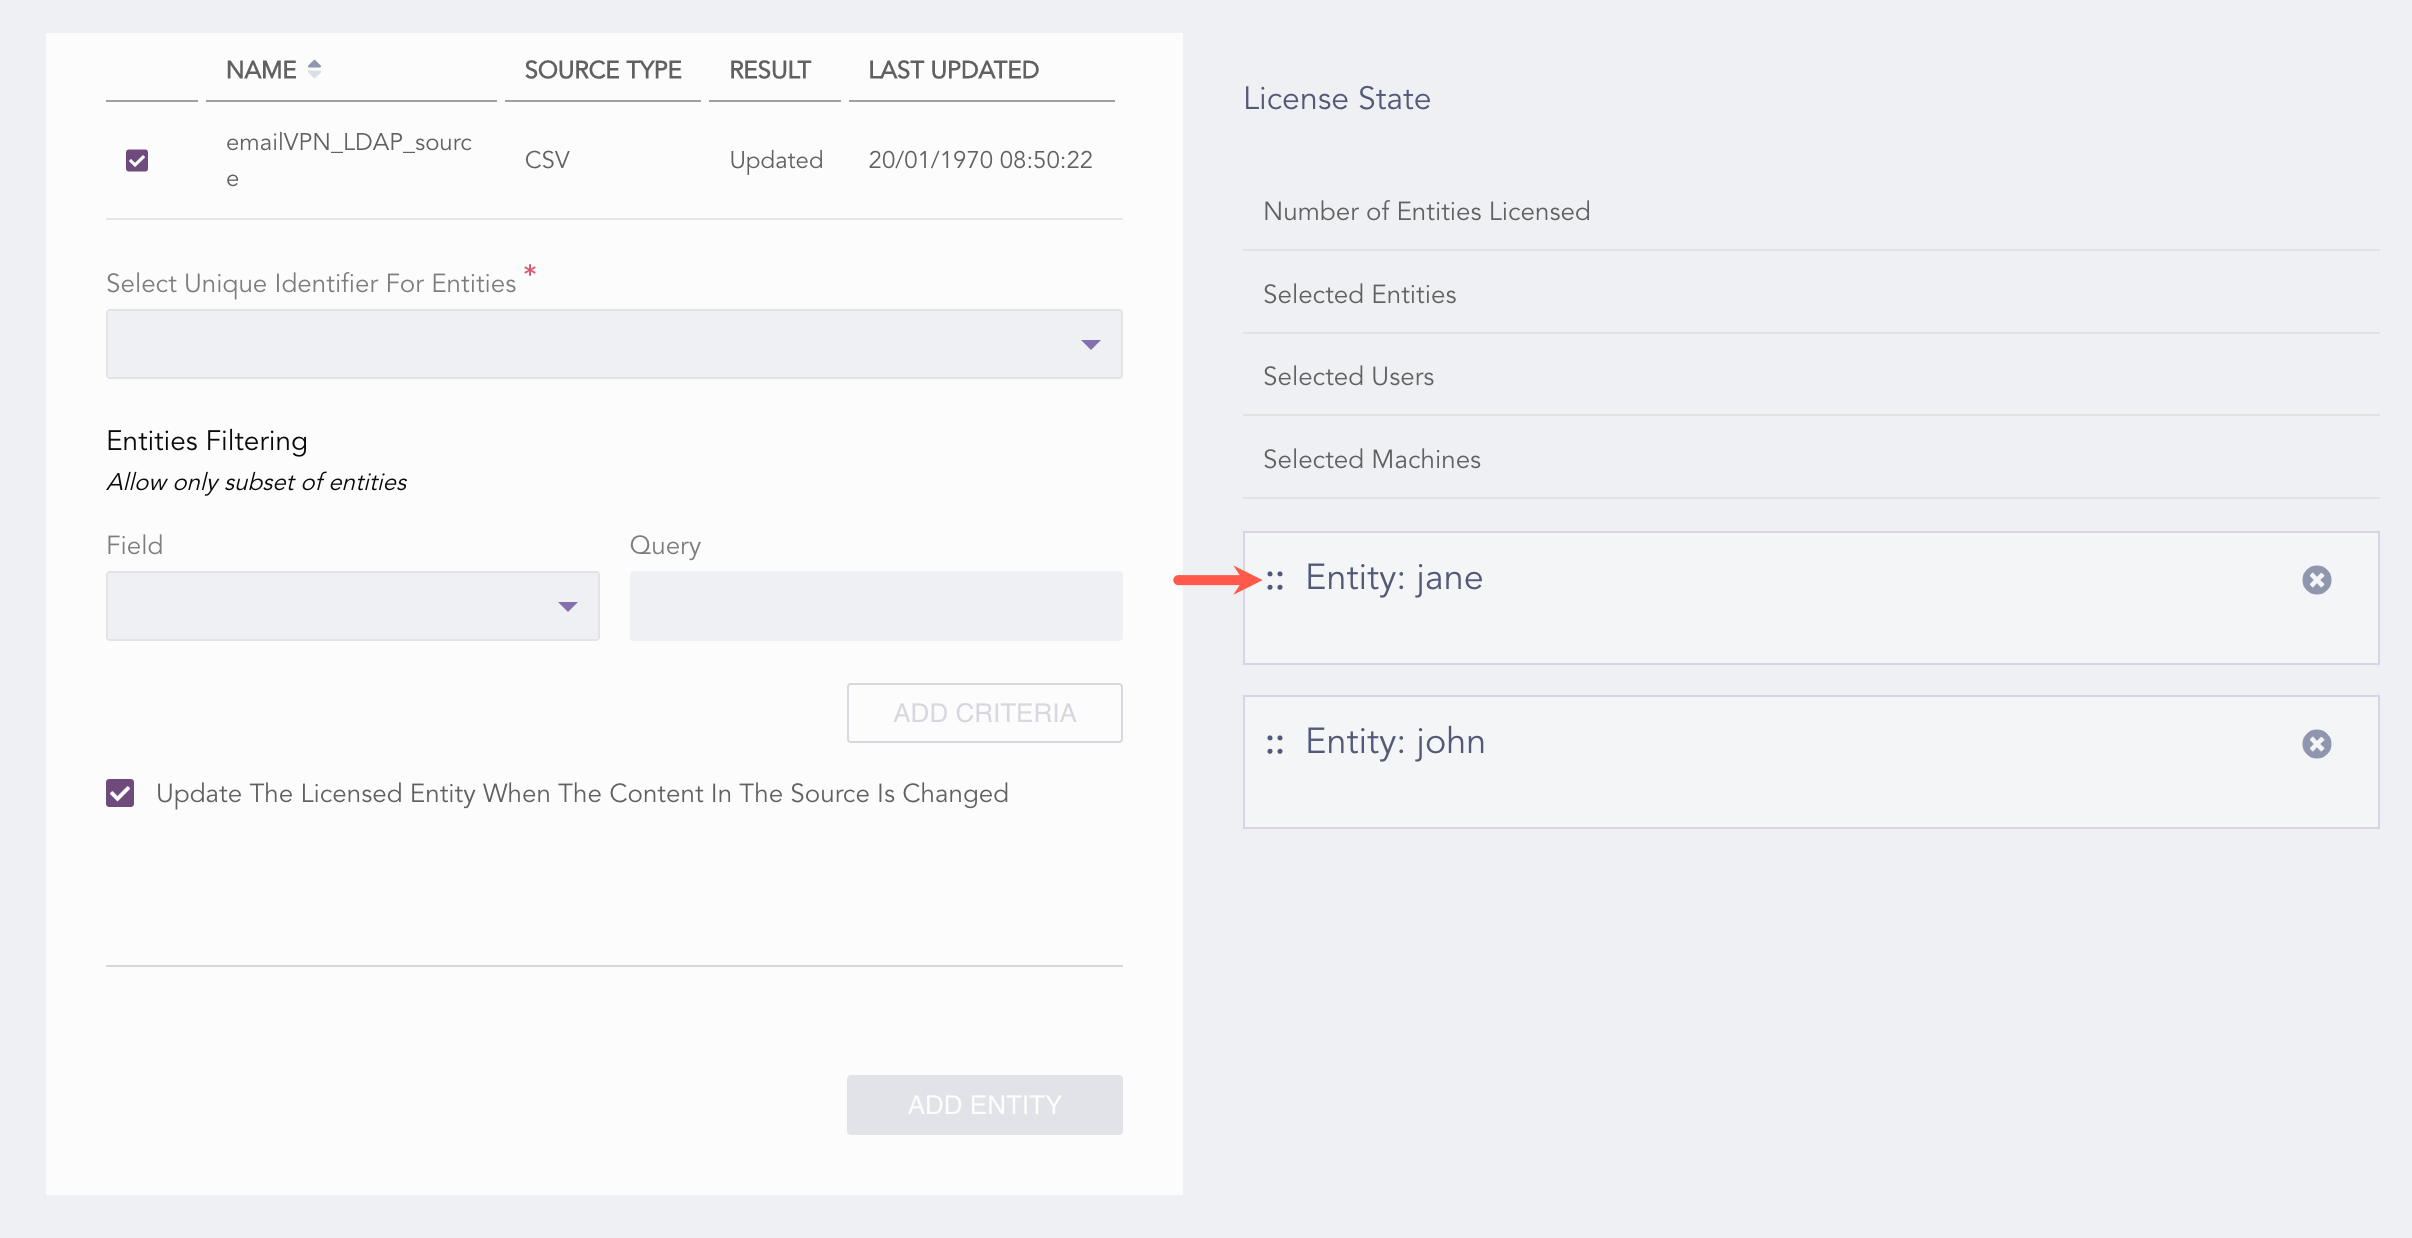
In Select Unique Identifier For Entities, select the identifier from the drop-down. It is automatically provided as per the selected Enrichment Source.
In Entities Filtering:
Select a Field from the drop-down.
Enter a Query. It is a parameter for filtering the enrichment source.
Enable Update The Licensed Entity When The Content In The Source Is Changed.
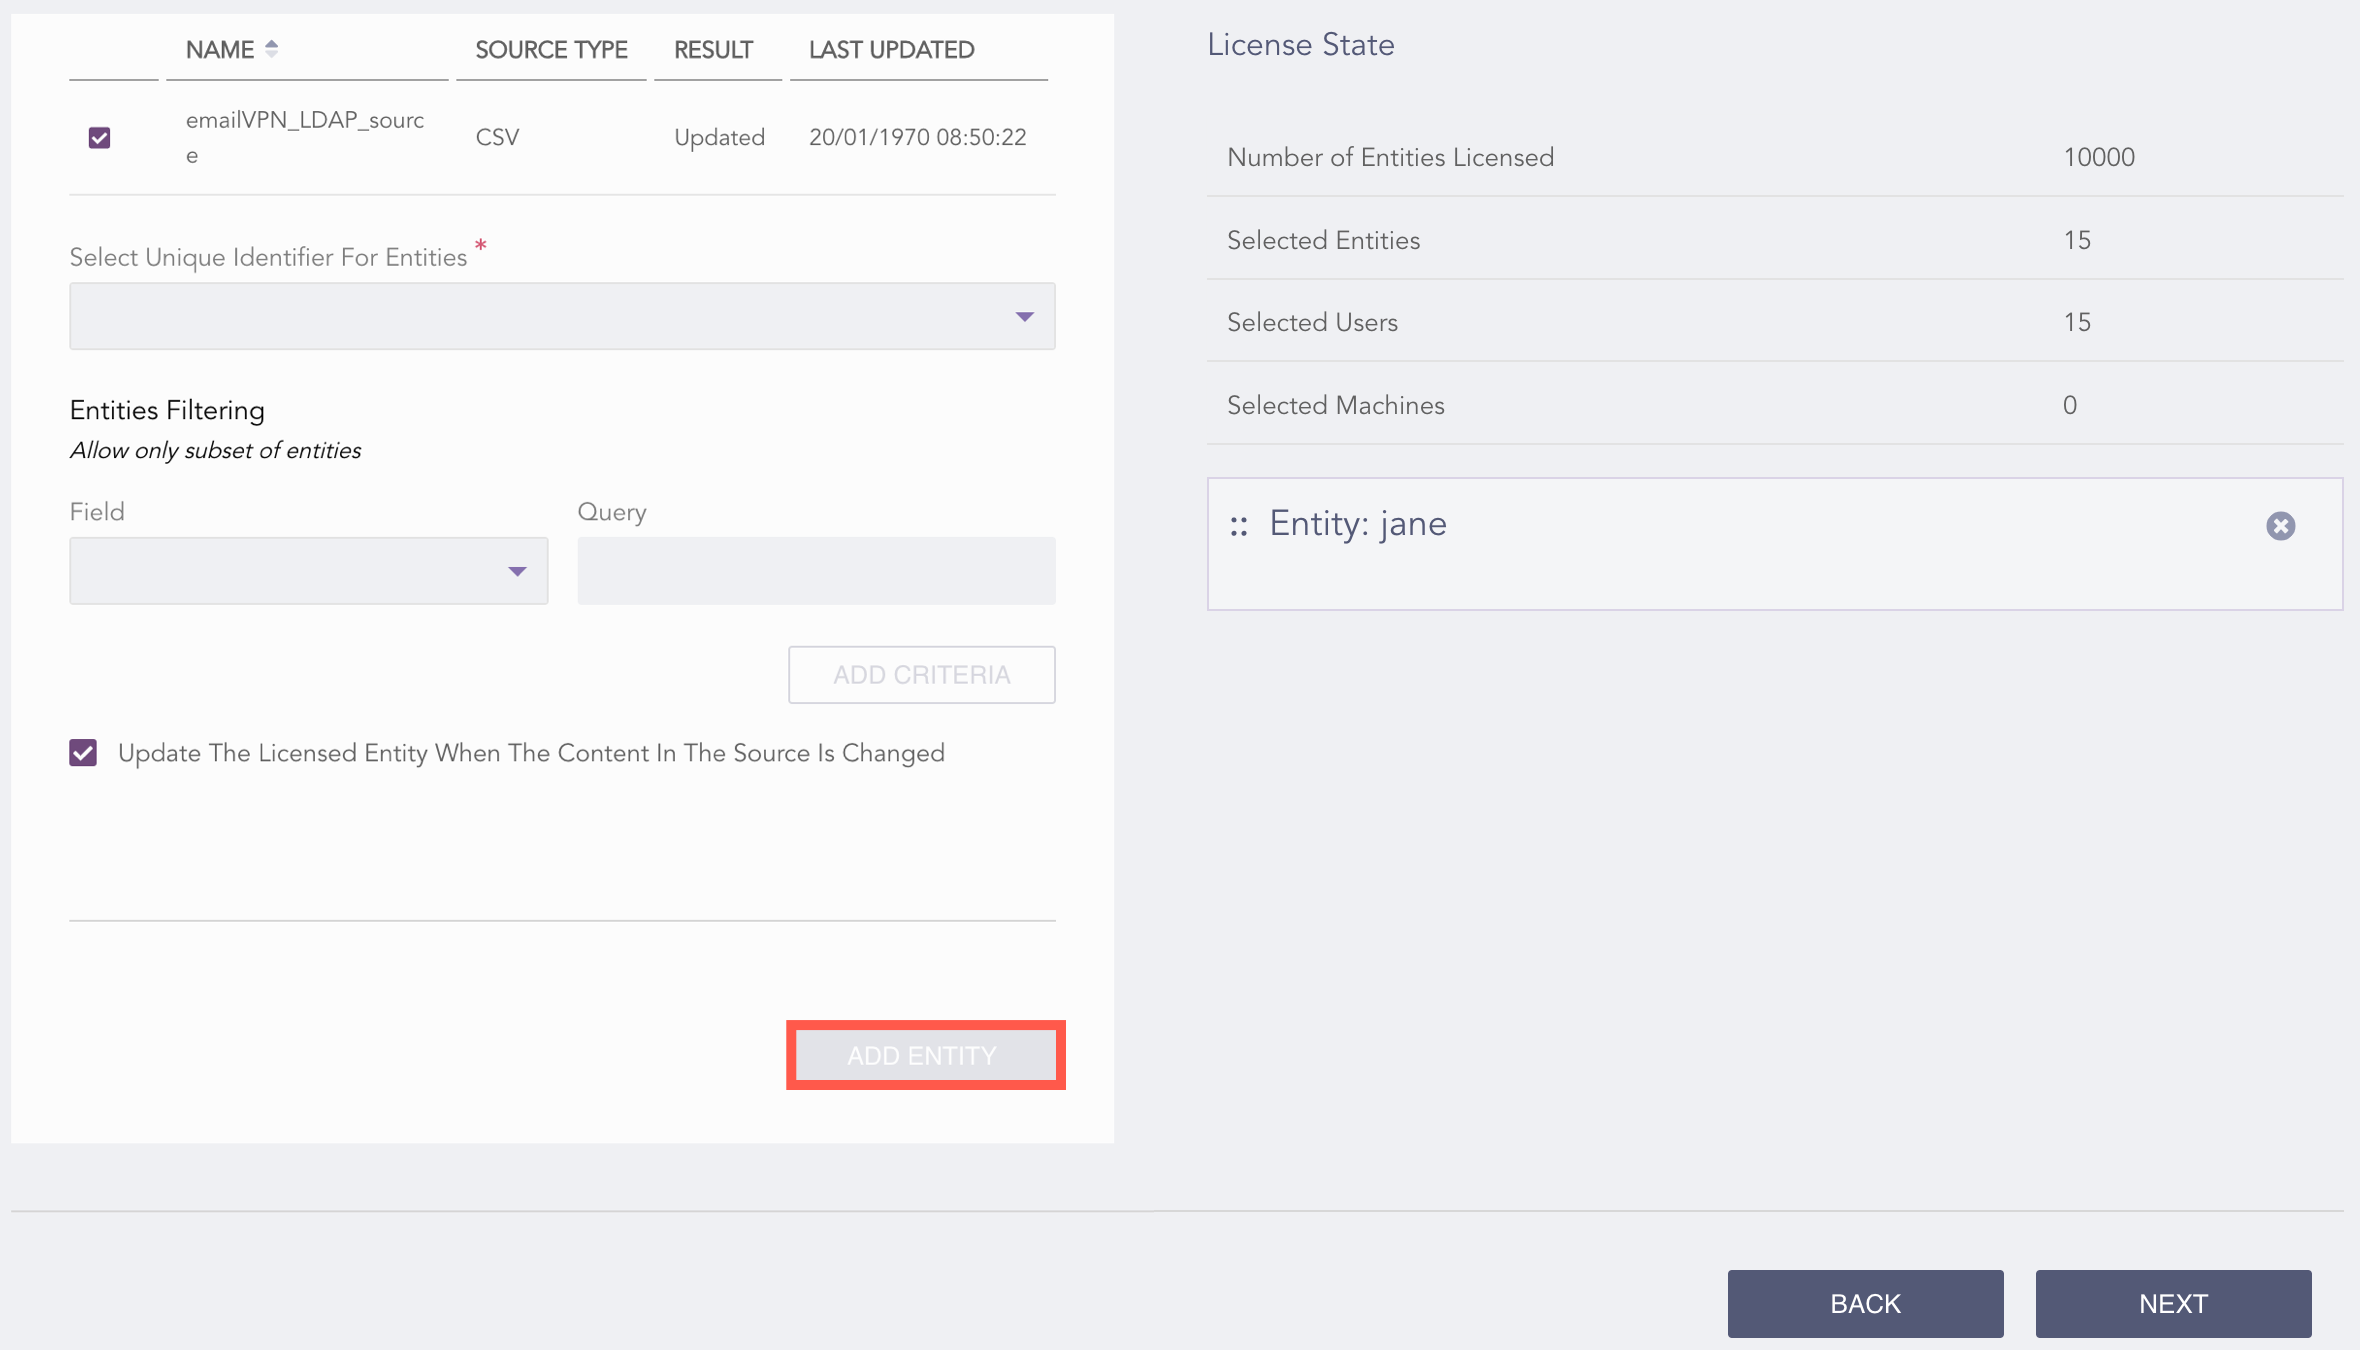
Adding UEBA Entities
Click ADD ENTITY.
Click Next.
Review your changes. You can go Back to update the configuration if necessary.
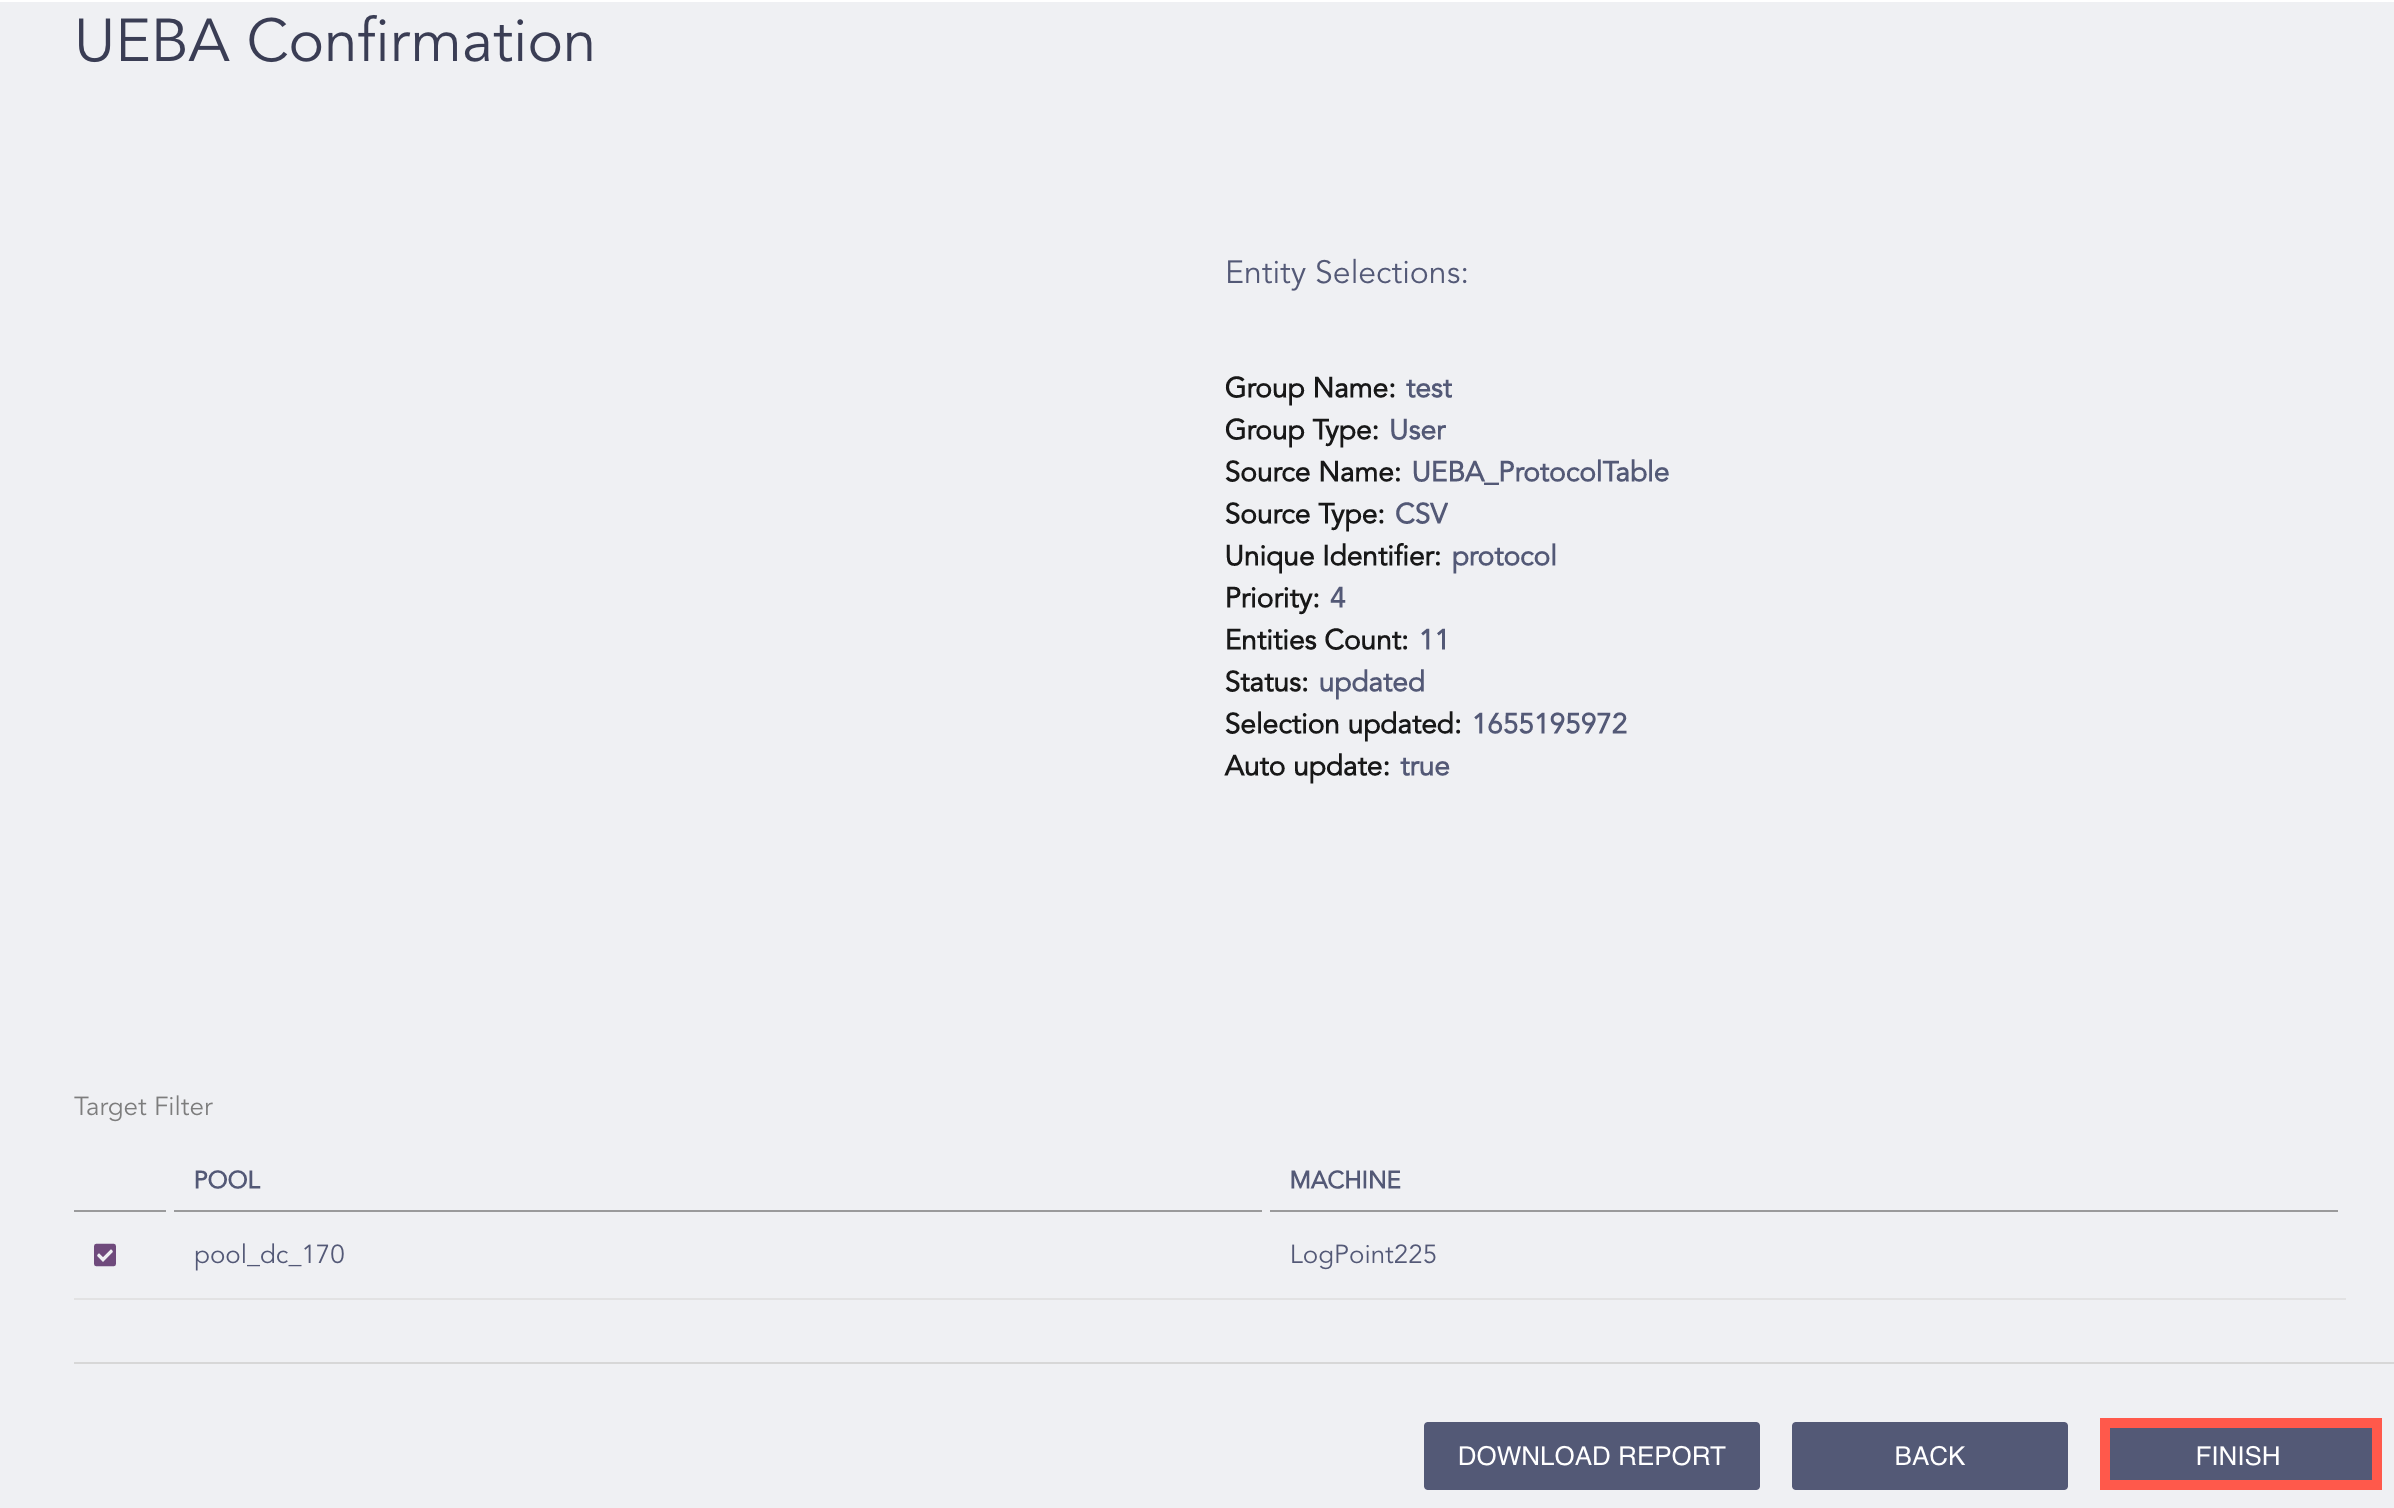
Confirming Entity Selection Information
Click Finish.
Note
You can Download Report to save the task summary in .pdf.
Go to Configure >> Settings and click UEBA.
Select Entity Selection.
Click the entity you want to edit.

Editing UEBA Entities
Make the necessary changes in all three panels.
Click EDIT ENTITY.
Click Next.
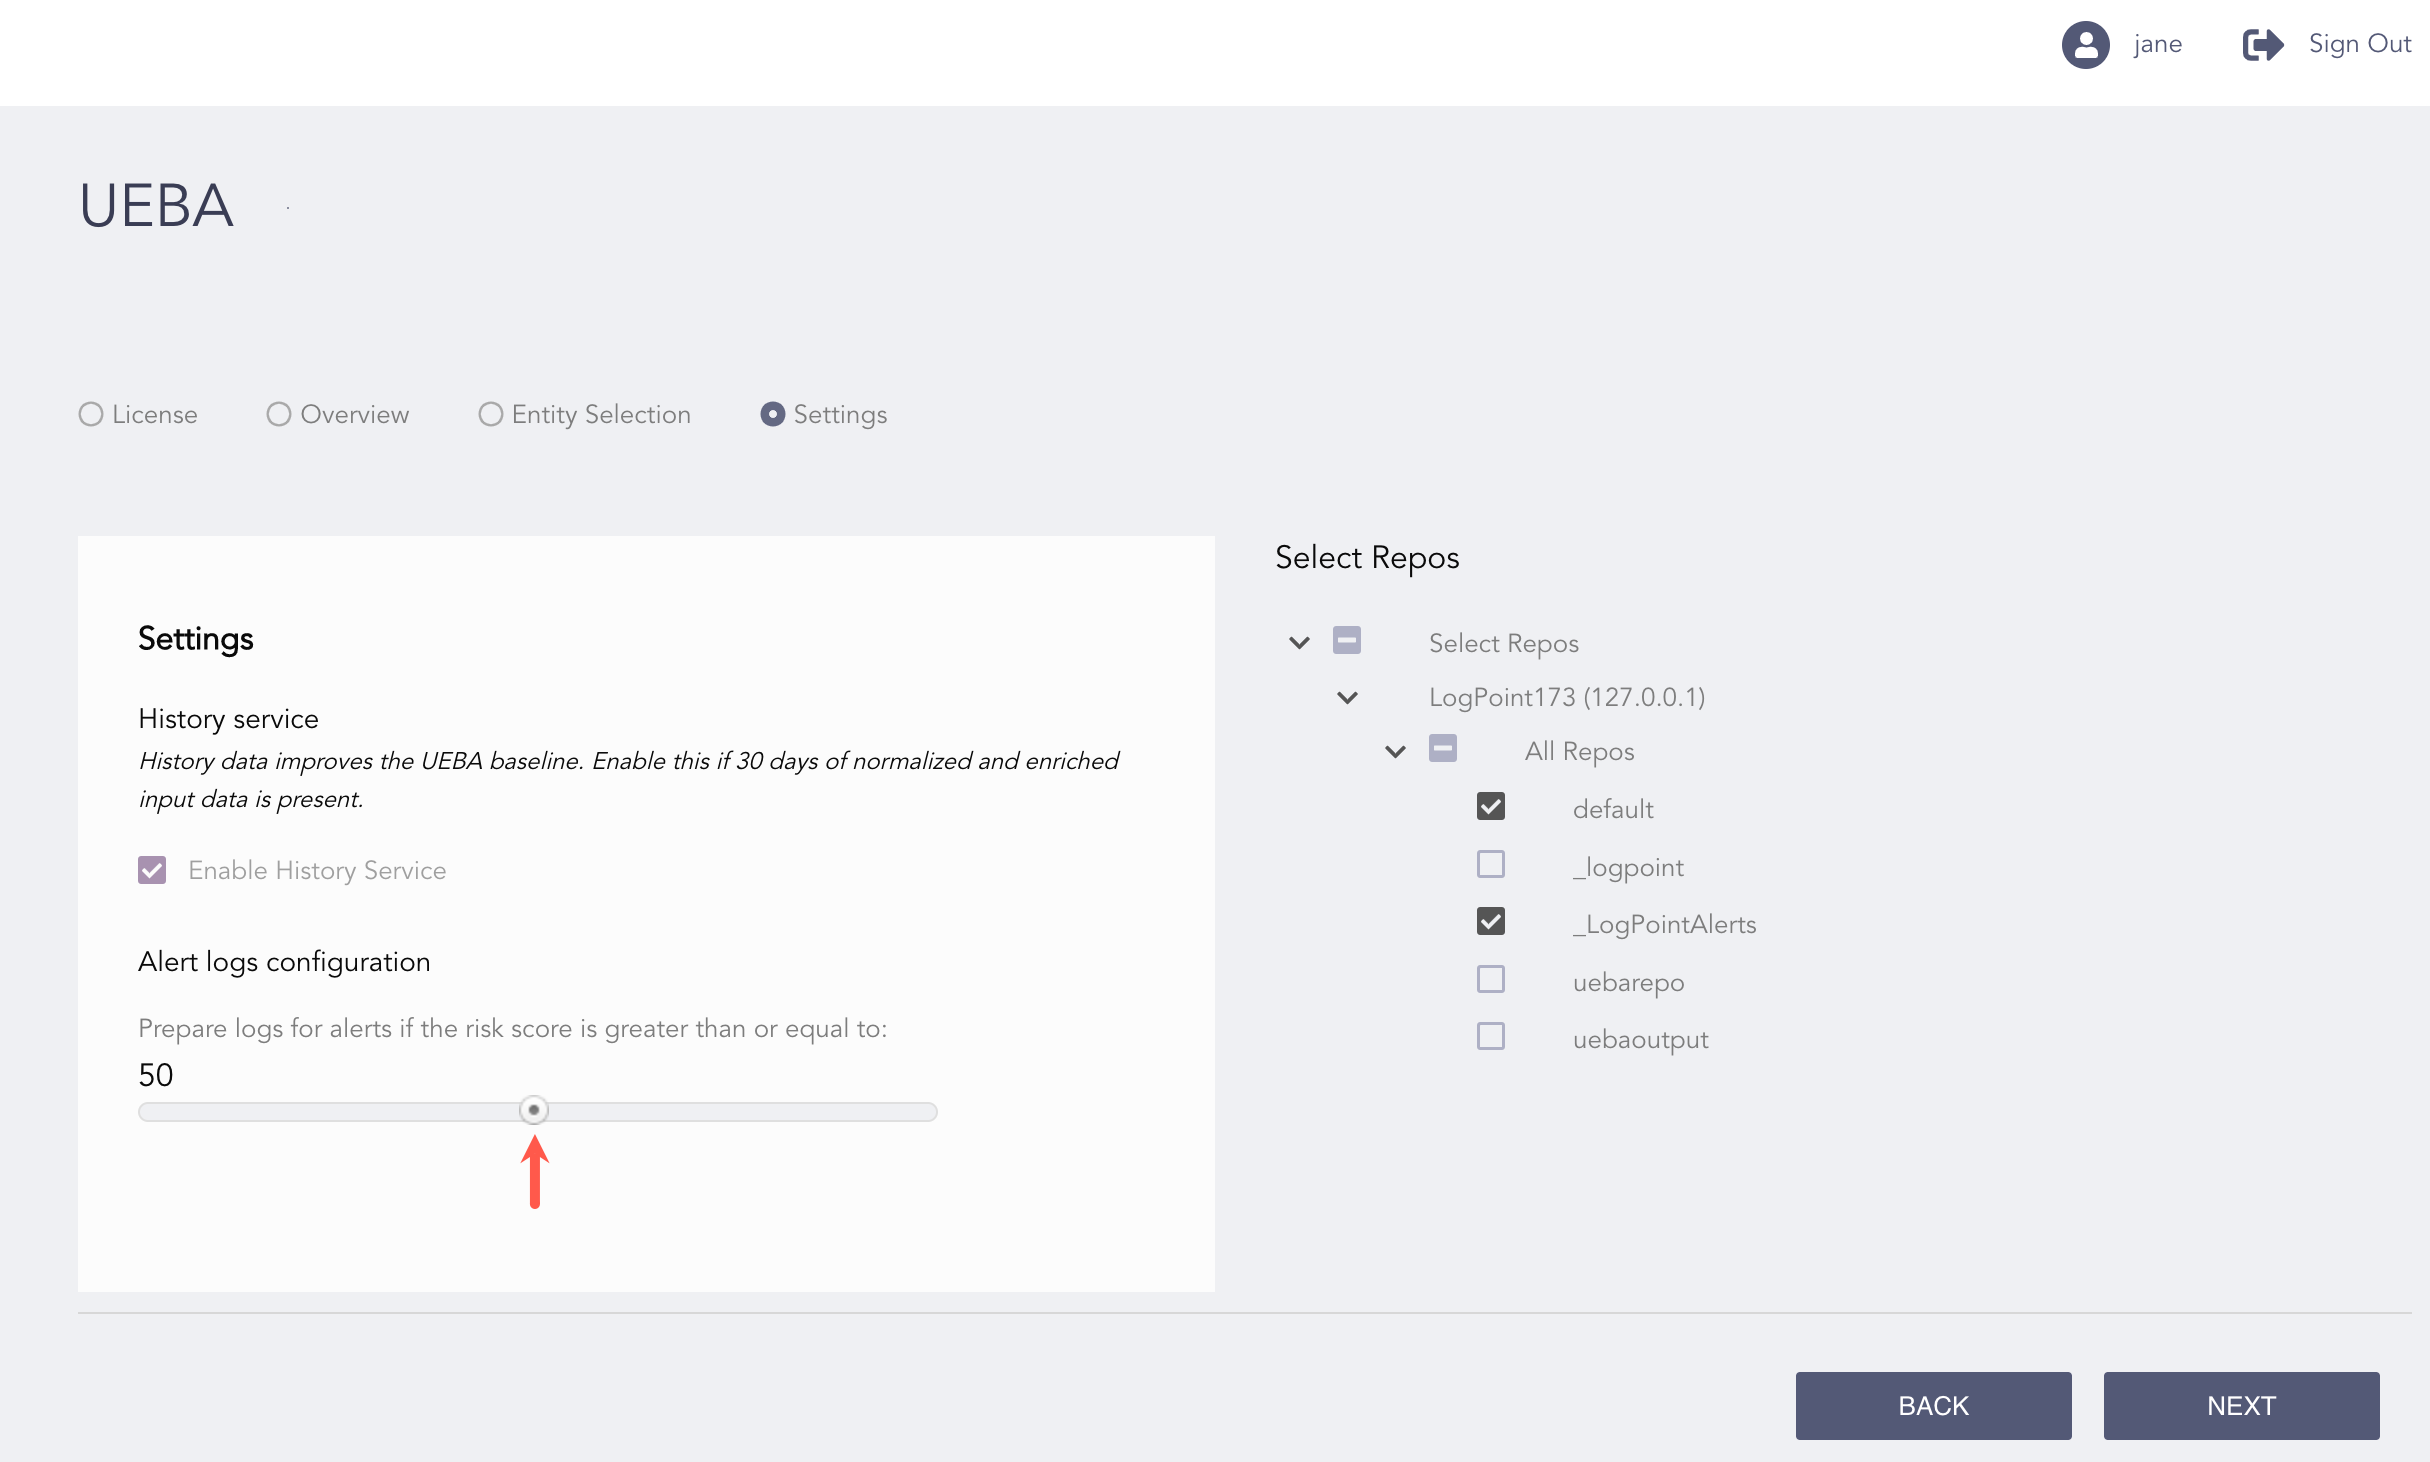
You can choose the LogPoint Search Head and Distributed LogPoint instances repositories for UEBA analysis in Fabric-enabled LogPoint instances from the Settings page. Similarly, you can enable or disable the history service.
You can select multiple repositories from the drop-down in the Repos section. The repos in the Repo Selector are grouped by Distributed LogPoint instances (DLP) or Repo.
In Select Repos:
Check Select Repos to choose all the repos of all machines.
Check All Repos to choose all the repos of a machine.
Click the All Repos drop-down to select specific repos for a machine.
Click Next.

Settings information
Review your changes. You can go Back to update the configuration if necessary.
Click Finish.
Click Ok.
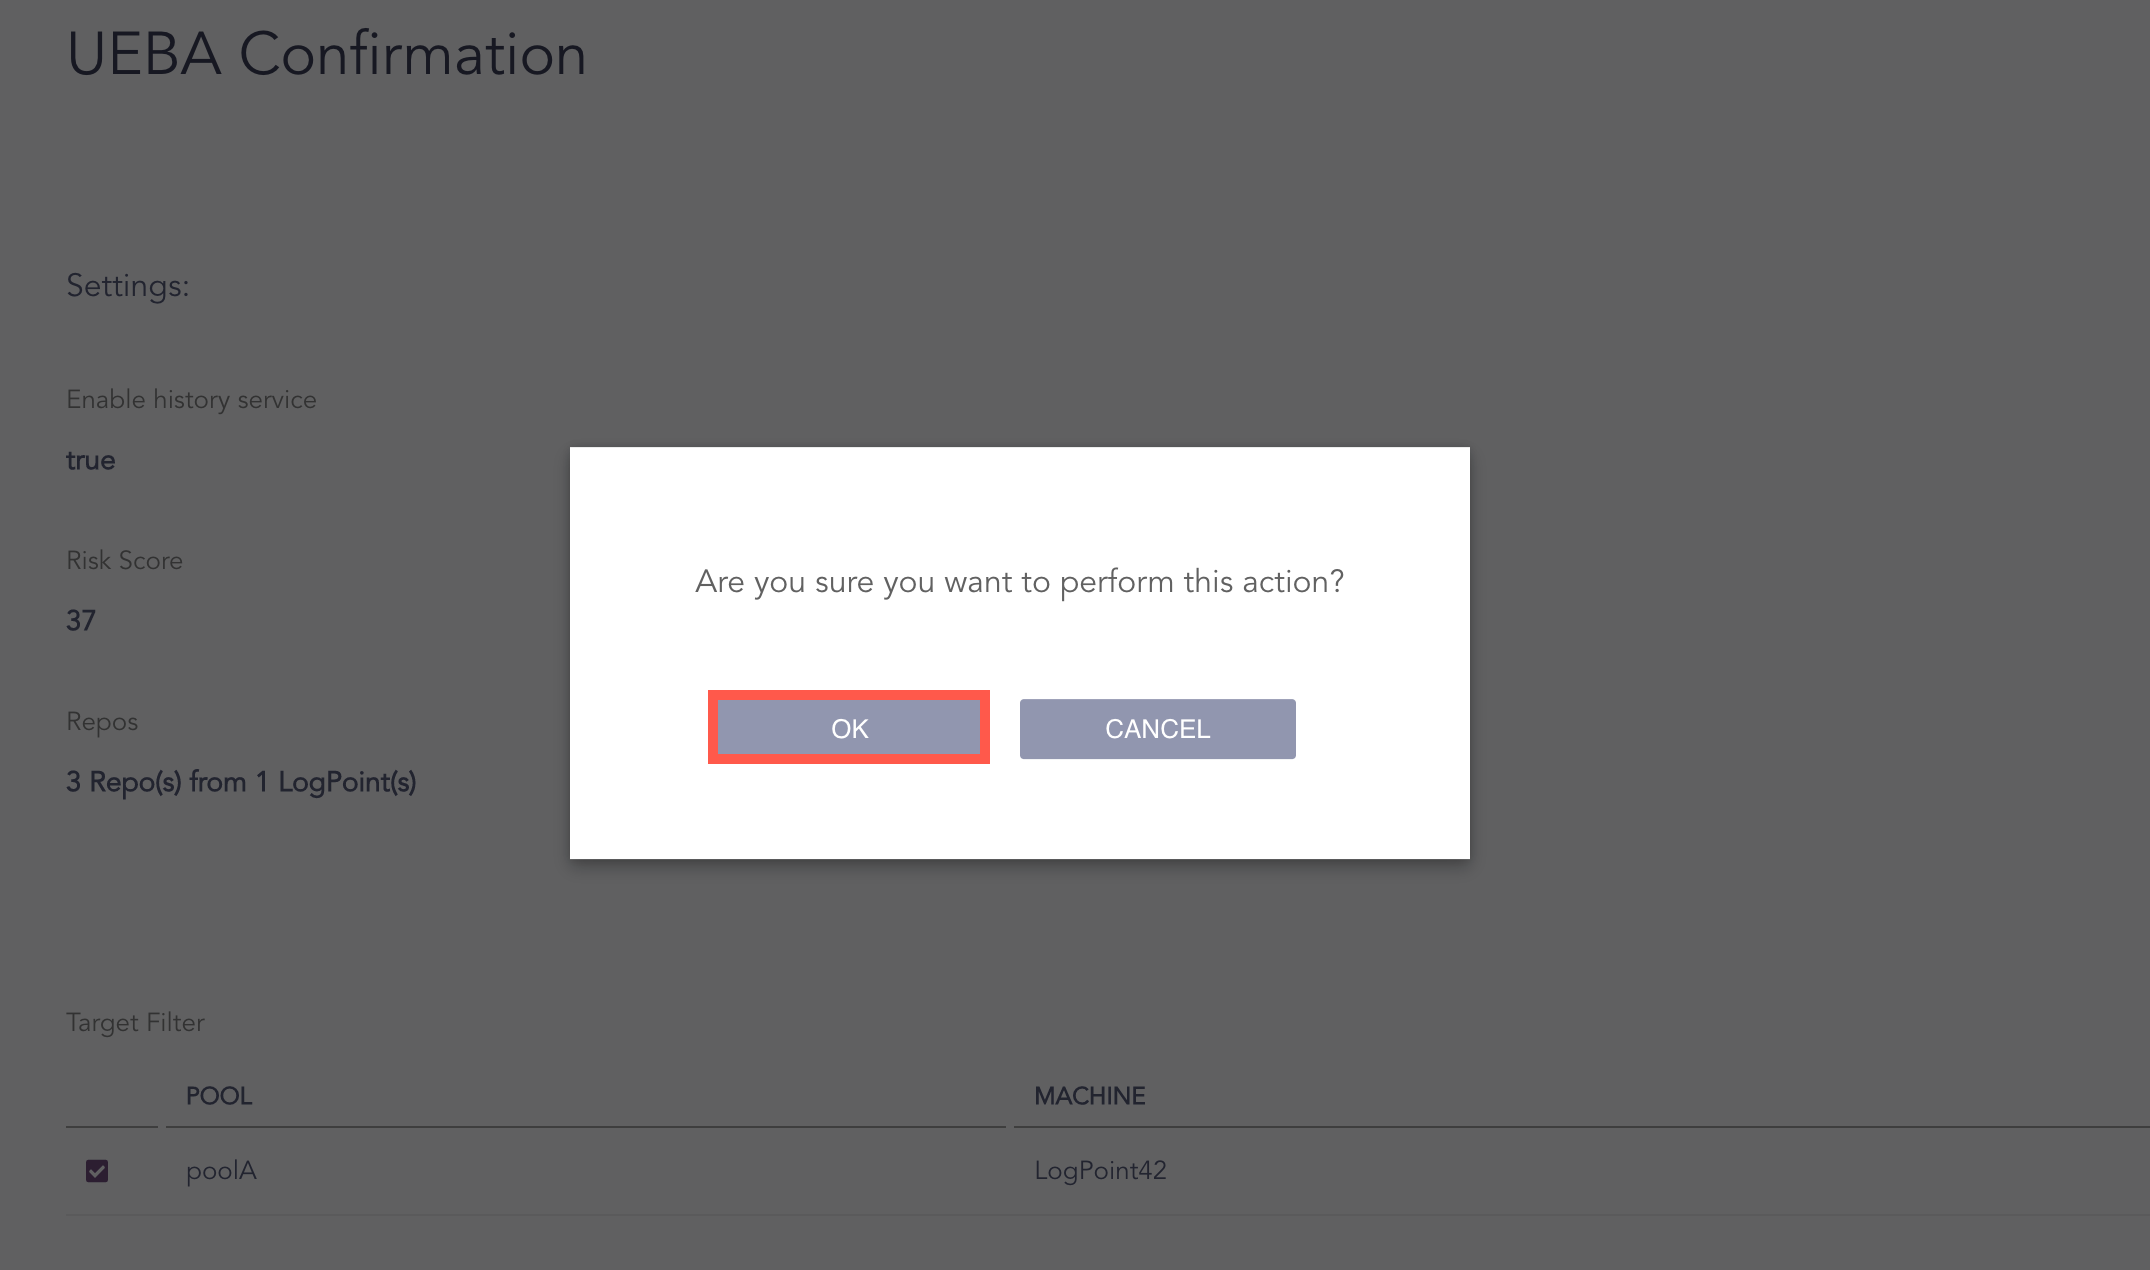
Confirming Settings
Note
You can Download Report to save the task summary in .pdf.
Enable the history service for a better baseline and result. You can enable the history service only once for a machine.You can enable the history service to send 30 days of historical data to UEBA.
Go to Configure >> Settings and click UEBA.
Select Settings.
Select the Enable History Service checkbox.
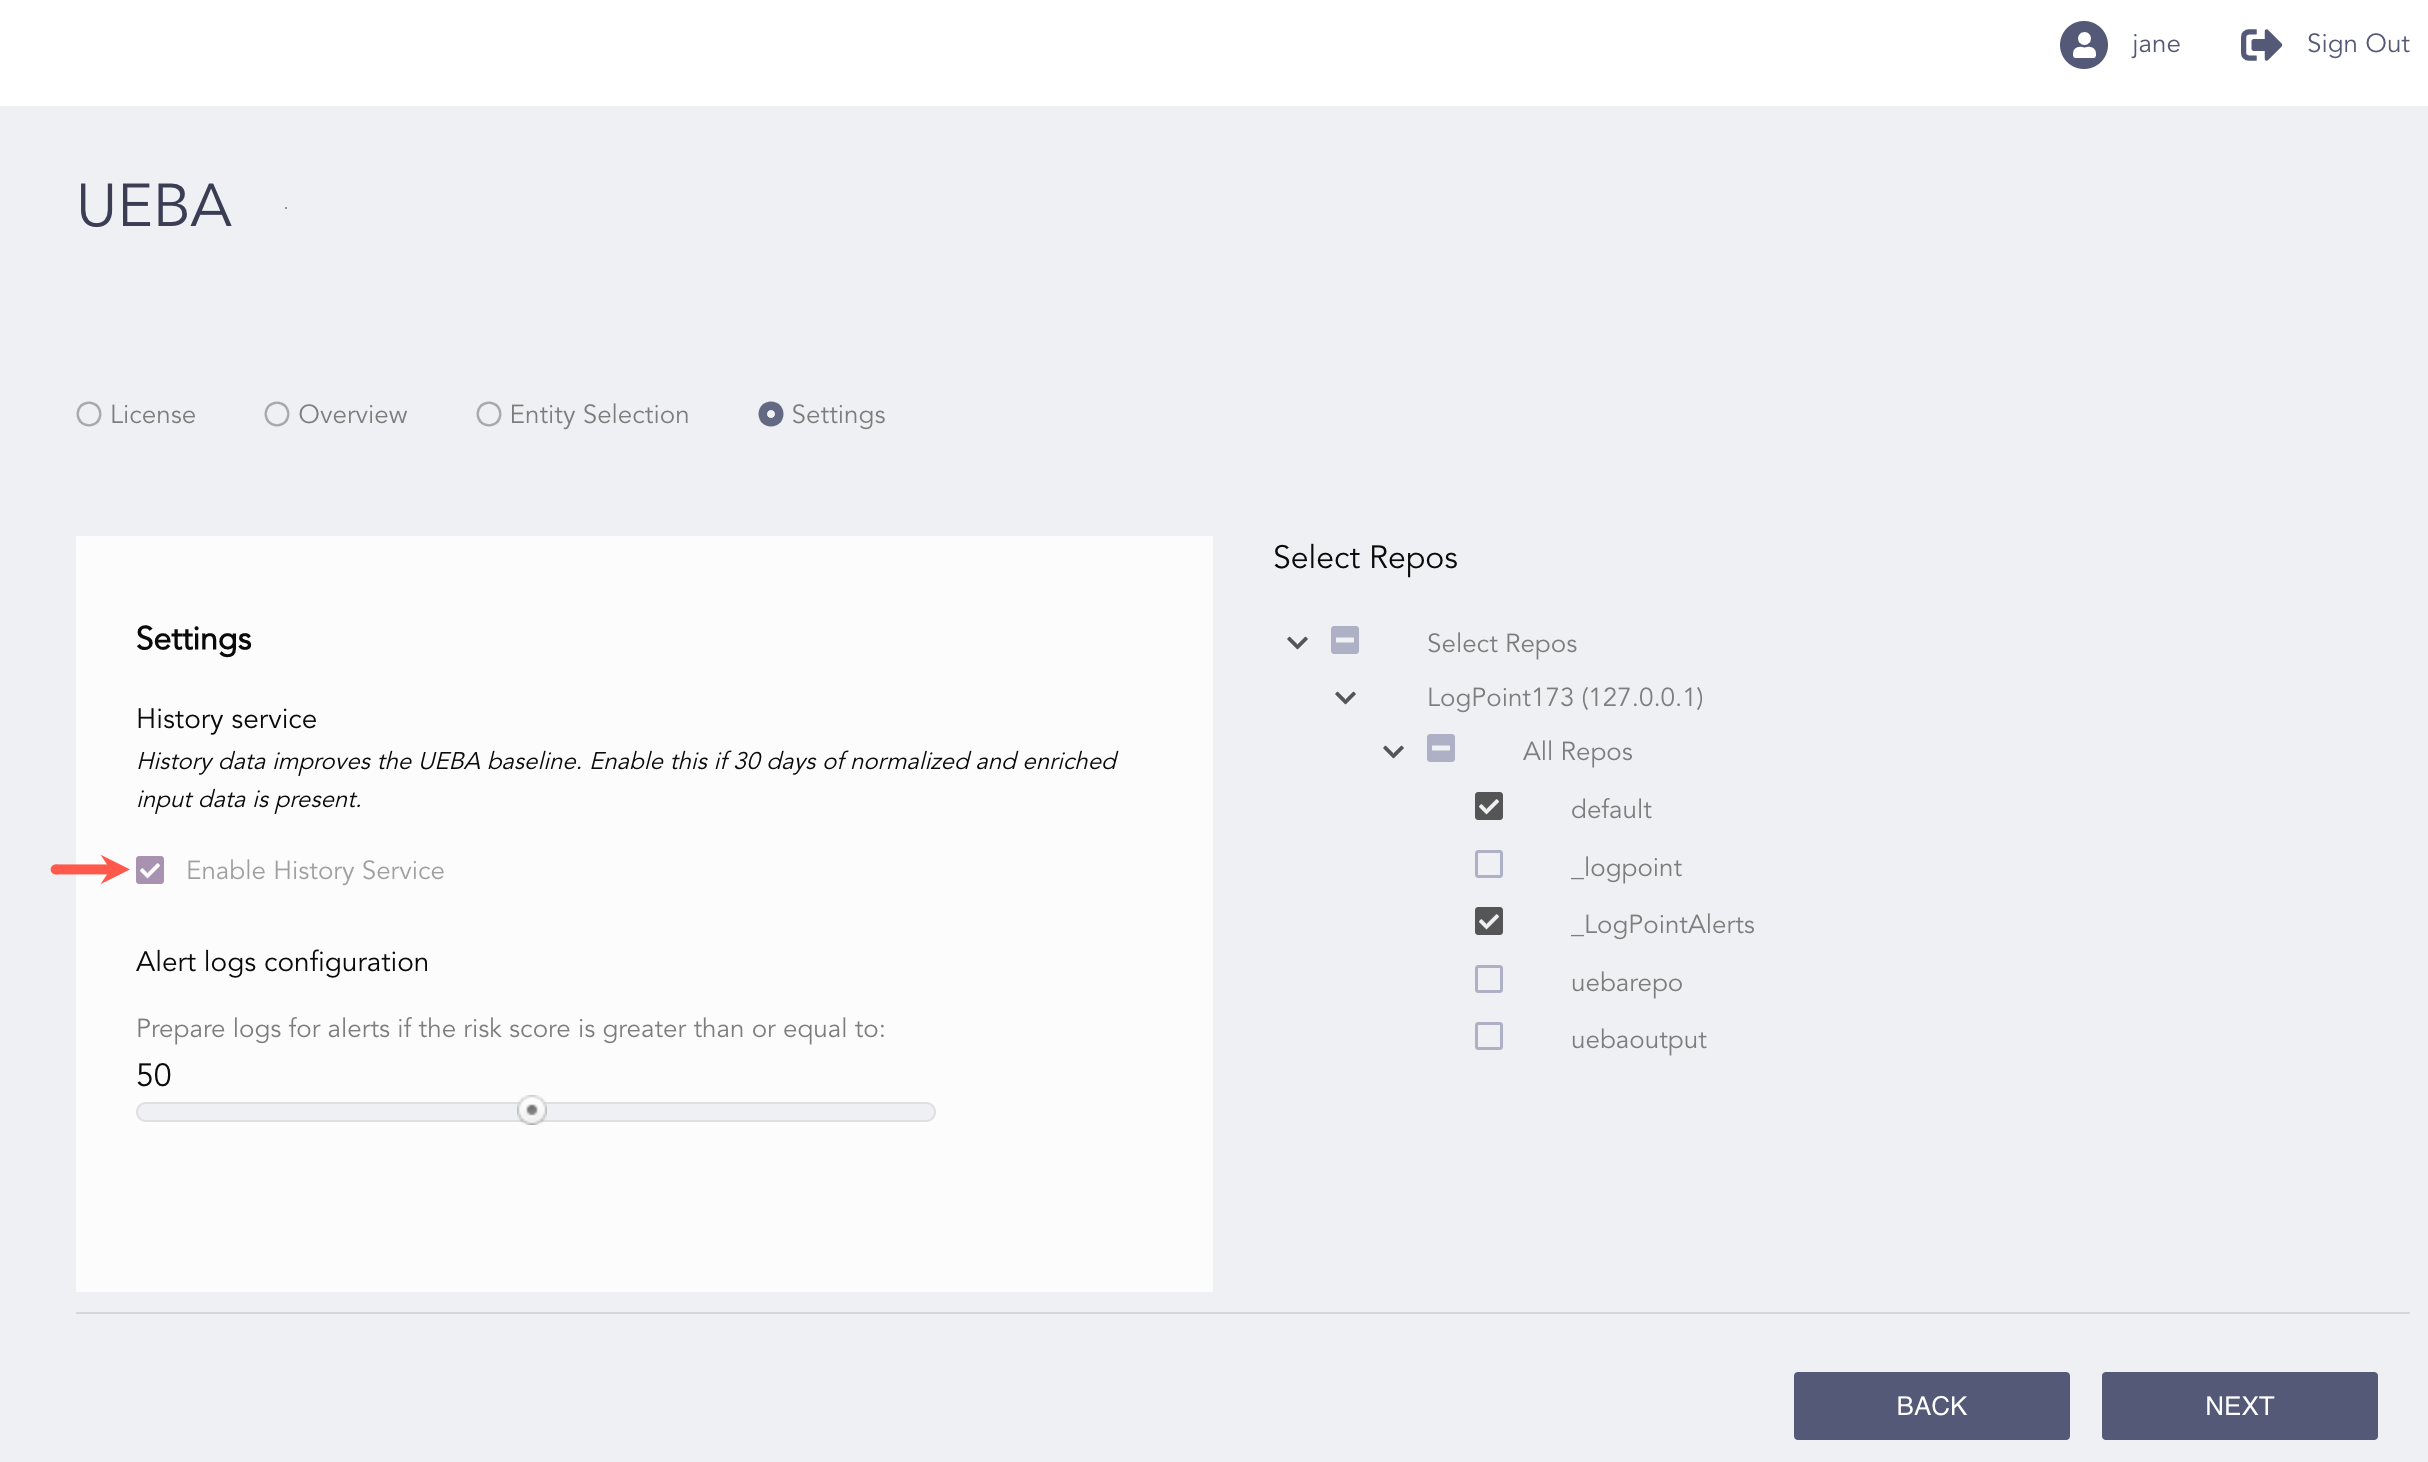
Enabling History Service